Suspension Setup Tips
Quite possibly the biggest mistake a new rider can make on an ATV is adding more power before harnessing the suspension. Most will never realize that the available power can make you even faster if you just take time to evaluate the settings on your shocks.
We recently explained the meanings of terms commonly used in the shock world in relation to ATVs and Side-by-Sides, so we thought it might be fitting to add a little more to the book by giving you some setup tips for tuning the shocks on your ride. Several elements affect the suspension’s ability to work properly, so let’s brush over the top of those first.
Shock Knowledge: Understanding How Your Shocks Work
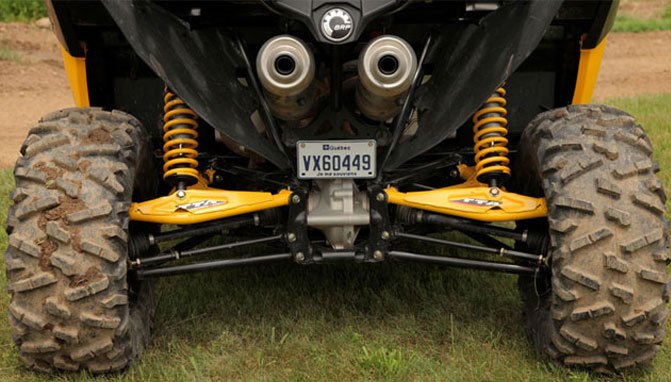
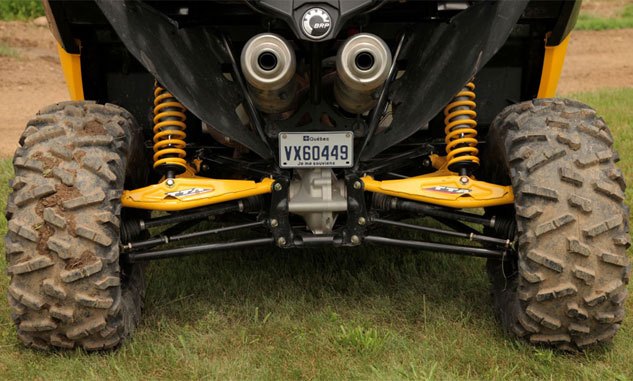
One of the first things you will want to figure out on your machine is the ride height. To find your ride height with a geared up rider standing on the pegs, measure from the bottom of the peg to the ground. Then move just forward of the peg to the rear mounting point of the front lower A-arm and take a second measurement. Your goal here is level or maybe as much as a quarter inch higher up front.
To get this in spec you might need to make some adjustments to your shocks, but a quick check of your suspension’s rider sag will determine which way to go. Rider sag determines how your machine handles over the terrain in which you ride using the effective travel of your shocks. With too little sag the machine sits to high and the suspension would not function properly. On the other hand, if you have too much sag the suspension will bottom more easily and your body will pay the bill.
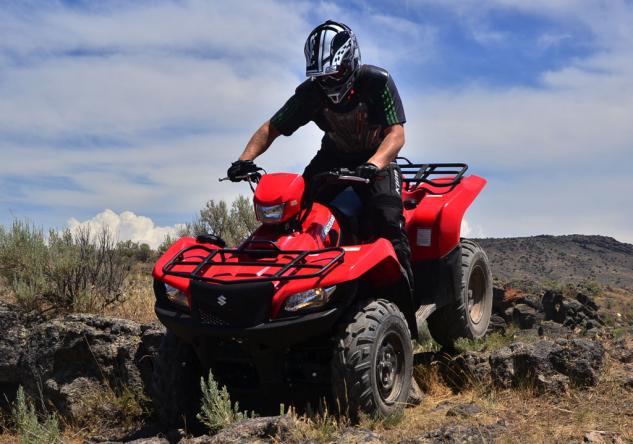
To figure out what amount of rider sag you have, invite a friend over that can read a measuring tape and you’re ready to get started. You will want to have on all the normal gear you will be wearing during the ride and sit on the machine in your neutral riding position. Have your friend measure from the axle carrier to a known point on the grab bar or sub-frame and make a mark at that point. The mark is for this next step. Get off the quad and have your friend lift the rear of the machine off the ground until the suspension is fully extended but the wheels are still on the ground. You’ll need to then measure the distance from the same place on the axle carrier to the same spot marked earlier on the grab bar or sub-frame. Take the first measurement and subtract it from the second and you have your rider sag number. Your aim point for a number should be right around thirty percent at the end of this, meaning if you have nine inches of travel then three inches of sag is pretty close to good rider sag.
With the first elements out of the way, it is time to fine tune the shocks for your riding style. The only issue you will run into is if your shocks are only pre-load adjustable. This means all you will be able to do is soften the ride or stiffen the ride with the pre-load collar. This will also raise and lower the ride height at the same time. Everything from this point forward will be of no use unless your shocks have fine adjustments available.
Suspension Tech 101: Shock Therapy
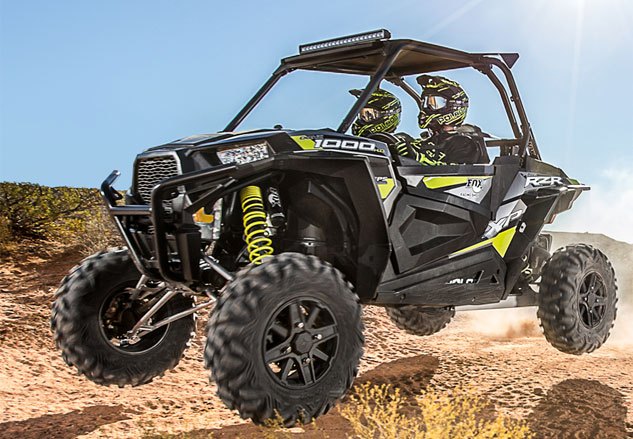
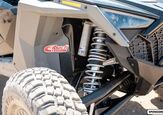
Putting things in simple to understand terms, we will try to give you the most basic theory first. Starting with the compression damping adjustment, we know that it is talking about when the shock is being compressed. This adjustability is used to add compression speed or to slow it down by controlling the fluid flow inside the shock. If you are feeling the front or rear of the machine slam down and bottom out on bumps or big jumps, then you may need to add some positive compression damping. This will limit how fast the shock can compress. On the other hand, if the suspension feels stiff and as if it is not soaking up the rough spots, you will do just the opposite and remove a little damping with the adjustment knob or screw.
Just so you know, the adjuster for compression will always be on the main body of the shock and never on the shaft end. Turning the adjuster clockwise tightens or stiffens; counterclockwise loosens or softens. When making adjustments be sure to go a couple of clicks at a time and never completely bottom the compression adjuster to the stiffest setting as it could damage the shock shaft by not allowing fluid to flow properly. If your shocks have a knob with numbers or markings instead of the flat blade slot for adjustment, then the shock can be used on its stiffest setting. Keeping the shock’s compression setting as low as possible is key to not only helping the shock’s oil stay cooler, but it will also keep the tires in contact with the ground.
Inside JRi Shocks’ Semi-Active Suspension
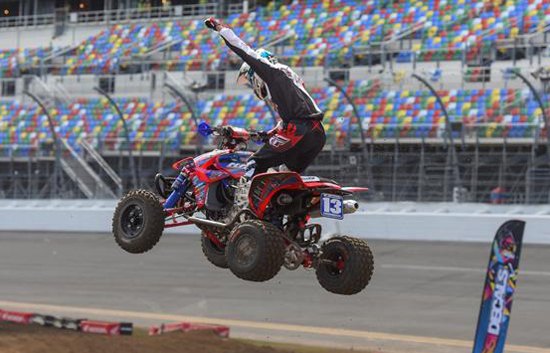
Moving to the rebound adjustment of your shocks, we know that this is when the shock shaft has been compressed into the body and is now moving back out of the shock body – or rebounding. A shock that rebounds too fast has been known to throw riders from their machines in a term known as bucking. A rebound setting that is too slow will allow the shock to pack and create a very harsh ride, as it has no more suspension travel to give. This setting is not used as much as the compression would be, especially for the trail rider, and that is why you will find many aftermarket shocks with compression adjustments only. More advanced riders can harness the shocks’ total performance with rebound adjustments. A well-adjusted rebound setting will allow you to go even faster through rough sections of track or trails. As with any shock adjustment, you need to move in small steps and adjust only a click or two at a time.
I know this all can be confusing as you try to learn the ins and outs of suspension tuning. One thing that will be the same every time is that everyone’s riding preference is different. If there was one piece of advice that could be given it would be to test frequently and really get to know your machine’s suspension. It’s easy to get impatient but that can get you hurt so as the old saying goes – slow down to go faster.
Whether he is in Mexico covering the Baja 1000, building ATVs for local racers, or out enjoying the trails, Rick’s passion shows in his stories. Learning to wrench his own machines from his grandfather, Rick also has an undying appreciation for the mechanics of off-road vehicles. Do not let the dirt and mud fool you, though, as Rick also has a deep love for street cars.
More by Rick Sosebee


![Don't Try This at Home: Muddy Crash [video]](https://cdn-fastly.atv.com/media/2022/10/24/8744120/don-t-try-this-at-home-muddy-crash-video.jpg?size=350x220)
![MIT Student Develops Off-Road Wheelchair [video]](https://cdn-fastly.atv.com/media/2022/10/24/8744100/mit-student-develops-off-road-wheelchair-video.jpg?size=350x220)