Yamaha Raptor 250 Project – Part 3
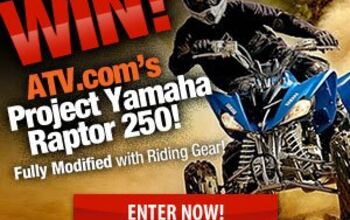
ATV.com is building up a Project Yamaha Raptor 250. This is the third article in a six-part series. Once the build is complete we will be giving the modified Raptor to one of our readers. Click here to enter for a chance to win.
Protection
Most of us are very conscious about protecting a number of things in our lives. Our families, our health and our investments are some of the more obvious examples, but what about our ATVs?
ATVs, after all, touch on all those. They can provide us with hours of enjoyment with our families, keep us active and fit and are certainly a financial investment – unless, of course, you’re lucky enough to win our Project Yamaha Raptor 250.
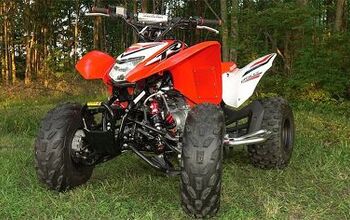
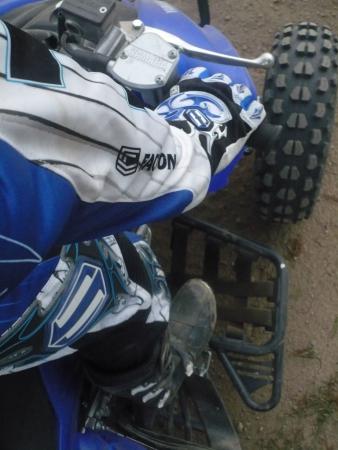
Just like you wear a helmet, boots and gloves to keep you safe while riding, your ATV needs some protection from the terrain you so often tread upon. We chose to help safeguard our Project Raptor with a few key products from DG Performance and GYTR.
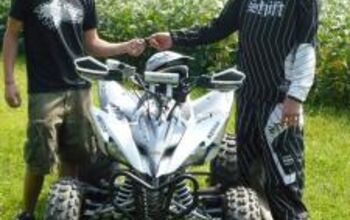
DG Front Bumper and Grab Bar Install
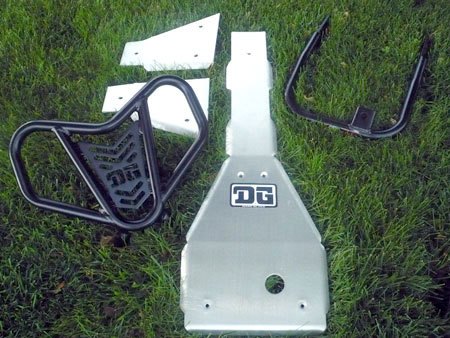
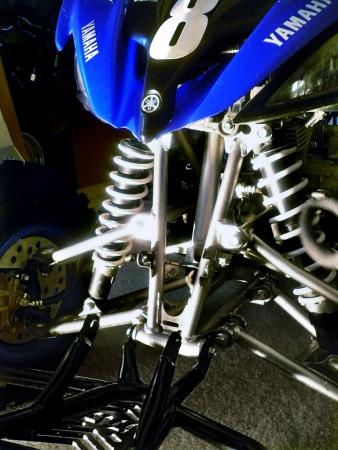
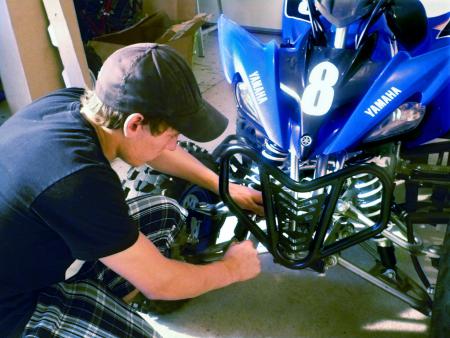
The Raptor’s stock bumper didn’t look like it was protecting much, so we decided to go bigger. DG Performance hooked us up with a huge new V-Lite front bumper and a Baja Series alloy rear grab bar in a black powder coat finish. The V-Lite is made from one-inch diameter tubing and is the lightest bumper DG has ever offered. Installation of the V-Lite was fairly simple, but we did have to figure out a trick or two.
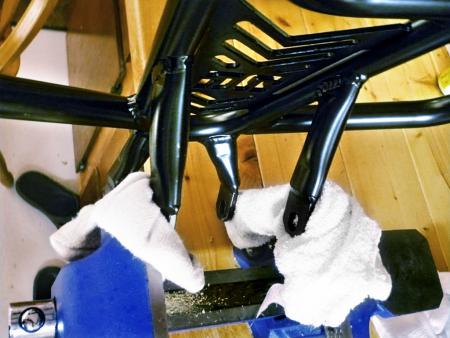
DG Skid Plate Install

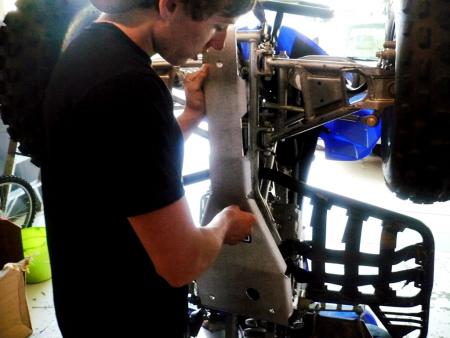
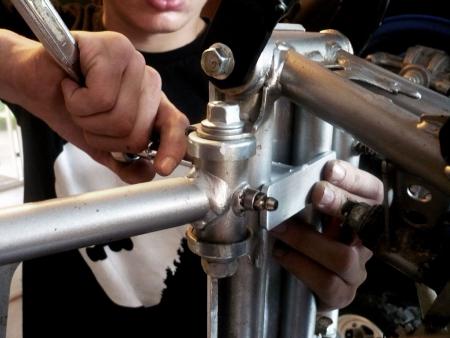
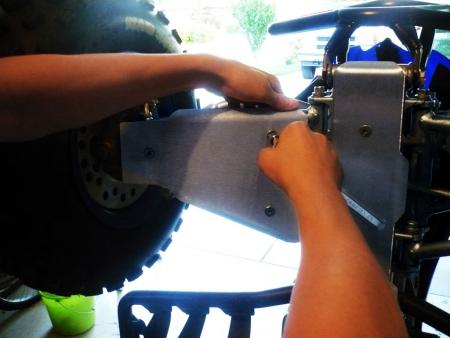
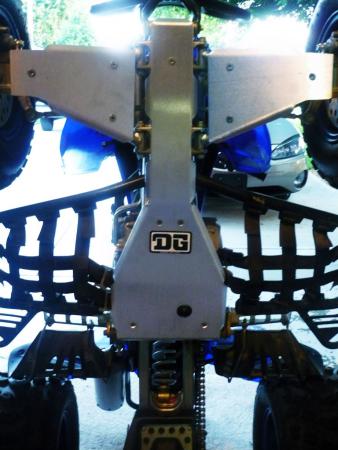
The DG full body chassis skid is thick and strong enough to take a beating from pounding rocks and other obstacles along your path. The Baja skid plate is great for protecting the bottom of your frame from getting nicked up and or bent. It also puts an extra layer of protection between the ground and your engine case.
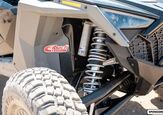
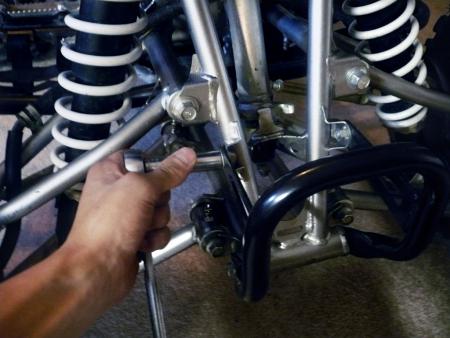
Next up are the Baja A-arm guards. These are important to have if you’re riding in really rocky terrain. Although the A-arm guards are built for protection, we’re not so sure they are a fail safe way to avoid bending your A-arms if you really slam into something. Our suggestion would be to avoid hitting trees. We’ve been there!
Installation was a breeze. DG provides clamps that hold the A-arm guards in place. We were surprised how easy it was to line these clamps up. Props to DG on designing a fluent and hassle free way to quickly install skids!
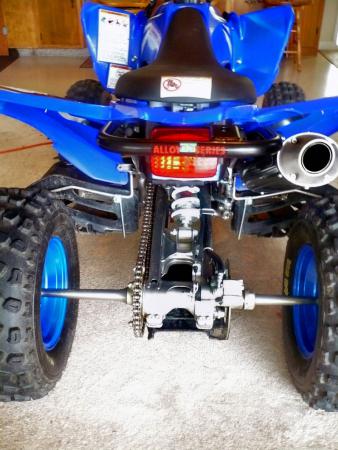
GYTR Nerf Bars
Our Project Raptor also has a set of GYTR Nerf Bars that were included when we picked up the unit. If you have ever jumped and missed your pegs or were riding trails and got hung up on a log you’ll know how important Nerf Bars are. We have experienced first hand what it’s like to land off a jump and miss one of our pegs. It’s not a pretty site and it sure doesn’t feel very good.
If you’re looking to protect your ATV, not to mention help protect yourself from injury, a set of Baja skids and a V-Lite bumper from DG Performance and Nerf Bars from GYTR are a no brainer. It’s a small price to pay to protect your pride and joy from getting beat up.
Check back next week for Part 4 of our Raptor 250 project as we add a set of Flexx handlebars, a Quad Tech seat over and PowerMadd hand guards. Click here to enter the Raptor 250 contest.
Related Reading
More by ATV.com Staff