


Shark Kage Multi-Use Ramp Review
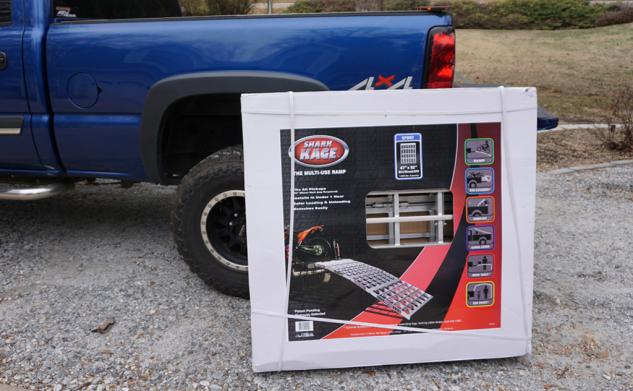
The Shark Kage Multi-Use ramp comes in a very large box that weighs 78 pounds. It’s a load.
One thing you need when owning an ATV is a way to get that ride to your favorite trail. If you are like me and use your pickup to carry your machine to the ride area and lack the ability or choose not to physically lift the machine into the truck, then a good set of ramps will do the trick. In the market of ramps there are many manufacturers and most have the same ideas in mind. However, we were able to find one manufacturer who thought a little differently than their competition.
Recently I had a chance to take a first hand look at one of the most heavily engineered set of ramps I’ve ever seen. Built by a Las Vegas company called Shark Kage, these ramps are made of T61 aluminum that is hinged into several sections to make a tough-looking system.
When the box for this Shark Kage arrived my first thoughts were, “man that is huge and it’s heavy as well.” The manufacturer says these ramps weigh in at 78 lbs. I had a few questions running through my mind before I opened, including “how will I store this system when I’m not using it?” After cracking open the box and sorting through the miscellaneous parts, it was clear I needed to get focused for the install.
Diamondback HD ATV Carrier Review
The Shark Byte mounting plate, as it is called, needed to be mounted directly to my tailgate. I wasn’t too keen on drilling holes in my tailgate nor was I too sure about putting a semi-permanent fixture on the tailgate either. But, alas, I set out to do the job. So after laying out the included template and mounting hardware on the truck’s bed, I was set to do battle.
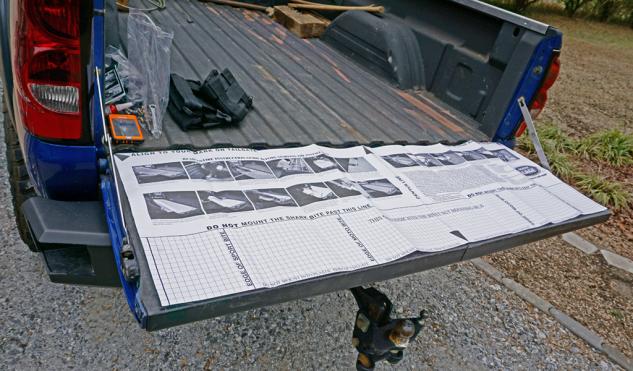
An included template shows you where to install the mounting hardware.
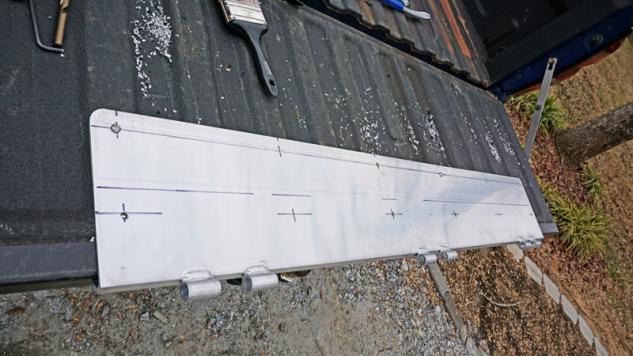
Shark Kage includes the drill bits you need along with the thread insert tools needed to get the threaded mounting inserts in place. I used a sharpie to draw out the drilling locations according to my tailgate’s particular design and also to make the bolt holes look uniform after I was finished. I drilled the holes through the aluminum plate and into the tailgate making sure I didn’t move the position of the plate. I also put a small amount of duct tape on the drill bit as a depth reminder so I didn’t drill too deep. As well, I made sure to drill my holes in the raised portions of the tailgate so the Shark Byte mount plate would mount flat. After drilling the first and second hole I slipped a cap screw down through the plate and into the bed to help hold the piece in place even better.
The threadserts internally threaded mounting fixtures simply slip into a predetermined predrilled hole and in theory lock themselves in place by compressing and clamping onto the metal they are placed into as they compress. There is no real way to determine if they are tightened in place enough to hold and they can be over tightened if you’re not careful. Under any mild torque of an Allen wrench while installing the hex socket cap screws I was able to twist the threadsert in its hole. This is when I went back and retightened each of the threadserts I had installed. They do not have to be torqued in place, so please do not misunderstand. But even with a mild snug I found it concerning that they would spin in the sheet metal.
The mounting plate is a permanent fixture on the tailgate, which is not ideal.
Installing the Shark Byte mount plate was easy as I just needed to place the plate over my predrilled holes where I had placed the threadserts and screw it down with the cap screws. I then mounted the ramp to the mounting plate with the three included bolts and 13mm Nylox nuts.
So the mounting part of my trial for the Shark Kage was complete. I did find it awkward when trying to maneuver the heavy ramps into position by myself, but after a few minutes I worked out a system to fit my needs and the ramps were ready for an ATV to roll up on them. As noted in the instructions, be sure to install the middle bolt first and remove it last when installing the ramp or removing the ramp from your truck.
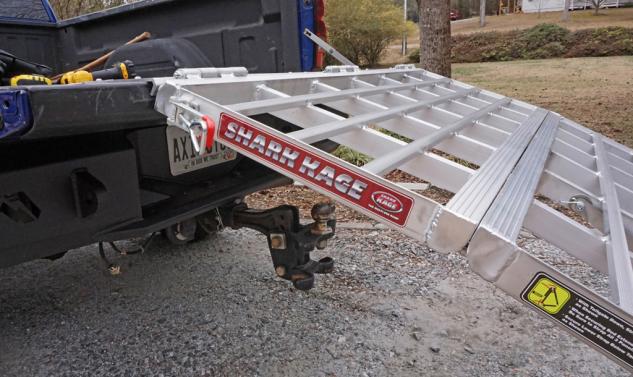
Once the mounting plate is installed, you can hook up the ramp with three bolts.
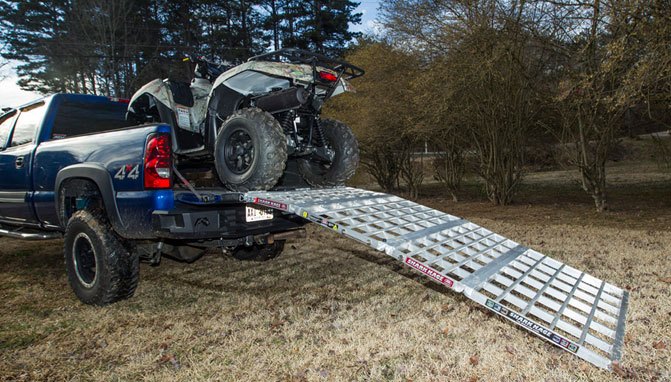
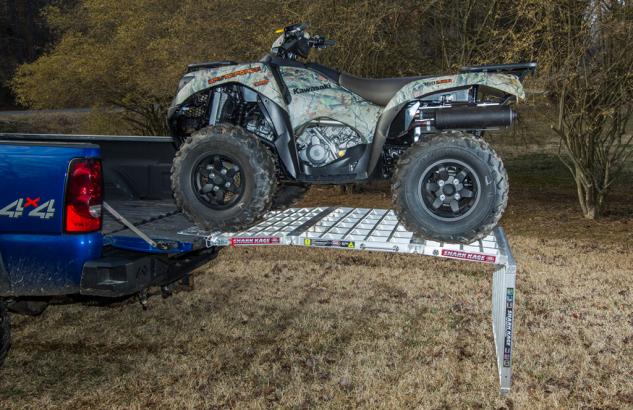
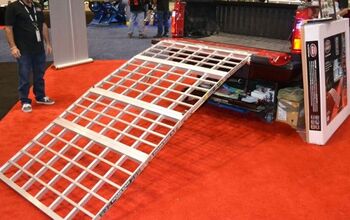
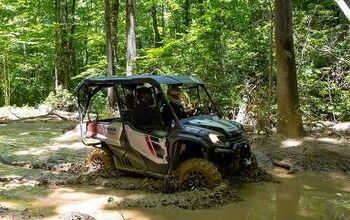
As far as initial use impressions go, I’d say once installed this is a really strong and durable set of ramps. At 92 inches long and 47 inches wide, there is ample room for most all ATVs. These ramps will also support up to 1,200 lbs. As the warnings say in the instructions, beware of the pinch points as they can get you in a half second. I got first hand, right hand experience. You can see a photo of the damage here, but it’s not for the faint of heart. I will now make sure to wear a set of gloves when handling this product as a precaution. Setting the ramps up for the most widely used option, an ATV loading ramp, was easy and the grooved aluminum cross bars provide plenty of grip when driving my 2014 Kawasaki Brute Force up into the bed of the truck. I even tried out the Work Table suggestion for an alternate use and found that it could be worthy when changing an ATV’s oil or other service related procedures as long as the folded leg of the ramp is secured.
Besides the basic ramp mode, the only other configuration we tried was the Work Table, which is quite useful.
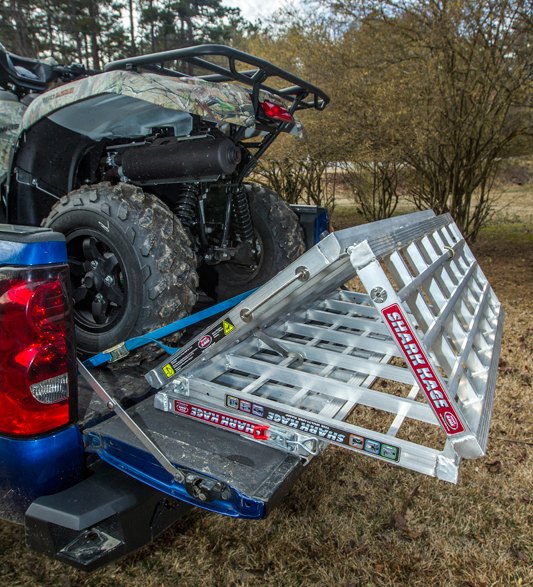
When I folded the ramp up into position to be secured for transport as well as to try out the Bed Extension feature, I found the ramps to be adequate and they performed as expected. Strapping the ramps in the bed of the truck as well as a strap to the tow hitch on the truck seemed to secure them for our drive. I did not hear the ramps bouncing around while driving.
Thus far I haven’t had a chance to try out the other position features (Tool Box, Cargo Cover, Sun Shade) just yet and I’m not sure I will ever use the ramps for those purposes, but Shark Kage seemed to put a lot of thought and engineering into these extra features. The Shark Kage when used as a ramp and as a worktable seemed to be the most reasonable features for me.
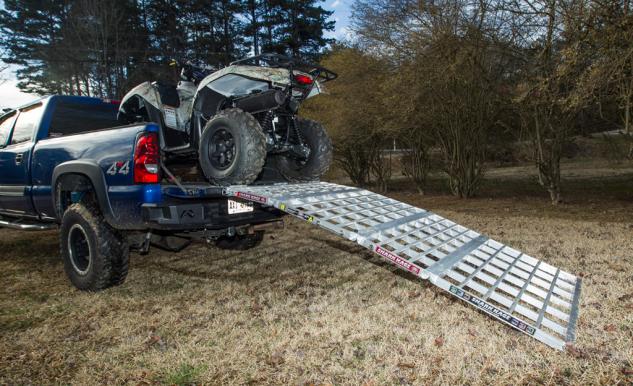
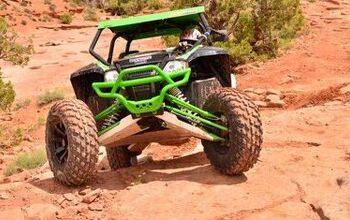
You can roll up to 1,200 pounds on the Shark Kage ramp, which is enough for any ATV.
If I had to pick out a few things that concerned me while using this product it would have to be the fact that the mount plate is made to be a fixed piece on my tailgate and the use of a vinyl bed cover isn’t an option. The second thing would be the weight of the ramp itself. I know this cannot be helped when building a really tough set of ramps, but just maneuvering the ramps when removed from the truck and storing them can be exhausting. Just be sure if you remove the ramps and mounting plate to reinsert the cap screws into the threadserts or dirt and debris will fill those holes and cause grief down the road. Do not over tighten the screws when reinserting them either because the first time a threadsert spins in its hole its tough to get the screw back out.
Moving the Shark Kage around into its various positions or removing it and taking it to the garage can be a tall order due to its heft.
The Shark Kage product is a very well engineered Heavy-duty set of ATV ramps. The minds at shark cage have definitely done their due diligence in that respect. I think the price for a quality set of ramps like these is also reasonable at $349, but do not forget to look at the shipping cost as well at a flat rate of $85. Overall, Shark Kage is a great product if you want something that will last forever and seems to be tough as nails.
Visit SharkKage.com for more information.
Whether he is in Mexico covering the Baja 1000, building ATVs for local racers, or out enjoying the trails, Rick’s passion shows in his stories. Learning to wrench his own machines from his grandfather, Rick also has an undying appreciation for the mechanics of off-road vehicles. Do not let the dirt and mud fool you, though, as Rick also has a deep love for street cars.
More by Rick Sosebee


