How To Install Polaris Total Vision DVR Mirror and PCI's Comlink RTX
Often times it’s all about the goodies that we install on our sport-minded UTV/SxS that make it the personal go buddy we like to pal around with in the backcountry.
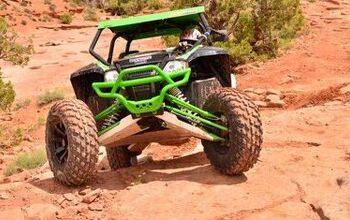
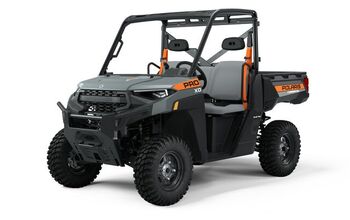
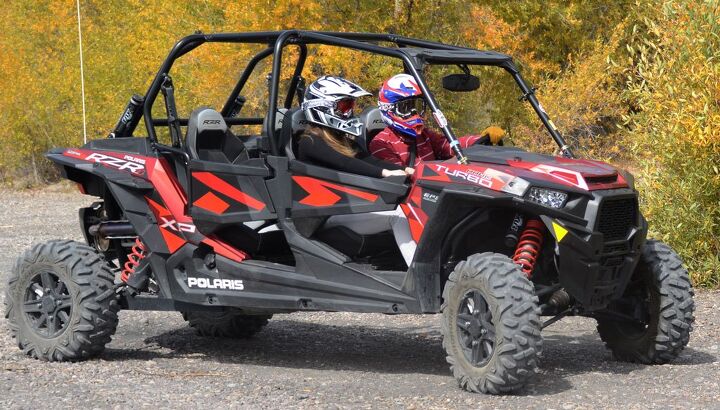
When Polaris sent to ATV.com a 2016 RZR XP-4 Turbo, with it came accessories we wanted to install: an electronic rear view mirror with front- and rear-facing camera with video and still picture record, and a PCI two-way radio communication headset. This past season, we put both to good use.
Here for your wintertime downtime is a quick “How To” on installing Polaris’ Total Vision Mirror (camera and video recorder) and PCI’s Comlink RTX VHF Radio and Intercom headset; being there is time between football games, hockey matches, and winter and spring. Both are sold by Polaris through its accessory line.
We found it best to complete the two-product install at the same time, as these two electronic devices tap into the same fuse junction box and battery. For us first-time installers, our totaled up time was about six hours; partly because we were picky about installing everything as well as we could.
One last piece of advice for you man-folk; take the time to read the instructions before dismantling your RZR. Tearing into the XP – unnecessarily – will create a frustrating install that will chew up more time and your allotment of cuss words. Provided is a truncated version, pulled from Polaris’ and PCI’s install instructions, and some practical experience.
When receiving the Polaris DVR and camera mirror, there are two additional products you’ll need to purchase from Polaris. The first is the accessory harness kit, Polaris Part # 2881646 (for two passenger, 2881551) and battery to-terminal-block tie-in, Polaris Part # 4015880 (fits both 2- and 4-seater, 2016 XPs).
We made the mistake of ordering the wiring harness for a two-seater RZR XP, thinking one size fits all. Well then, after routing the cable through the center tunnel which houses the electrical cables and coolant lines, we were a good 18 inches short. An email and phone call to Polaris’ dirt-wheels media relations folks and a new, proper-length, cable was quickly sent.
So bottom line here, the harness tie-in from the camera to the bus/fuse junction-box is one-size-fits-all-RZR-XPs. The hookup harness from the camera to the battery and to the rear-mounted camera needs be specific for the XP chassis’ length.
The unique wiring harness has to stretch from the dashboard, down and inside the console’s inside tunnel, and to the battery. Cables for two-seat and four-seat RZR XPs are different; order wisely.
OK, let’s move on.
Ensure the RZR is turned off and remove the ignition key.
Remove the hood.
Remove the seats to access the wiring and coolant line housing.
Remove the front- and rear-center console housing by removing the push pins and Torx screws; make note of pin and bolt locations so as not to interchange these; store pins and bolts in separate sandwich bags.
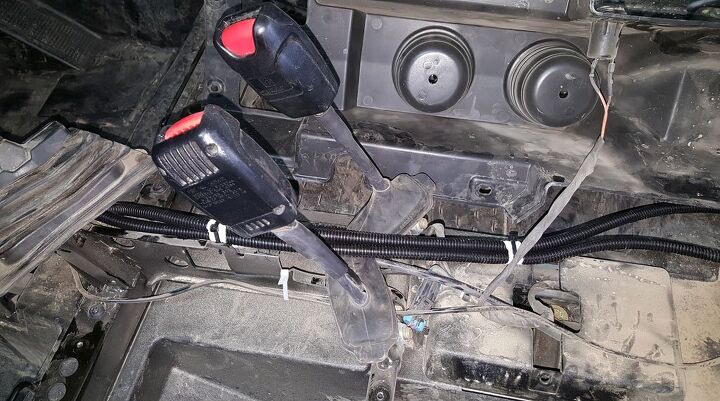
After removing the center console front and rear caps, one can see how dirty a RZR can become. However, the long cable has a placement path.
Remove engine access panel in the RZR’s bed and battery. Disconnect battery cables.
Remove tail light trim panel’s Torx screws and store in a bag.
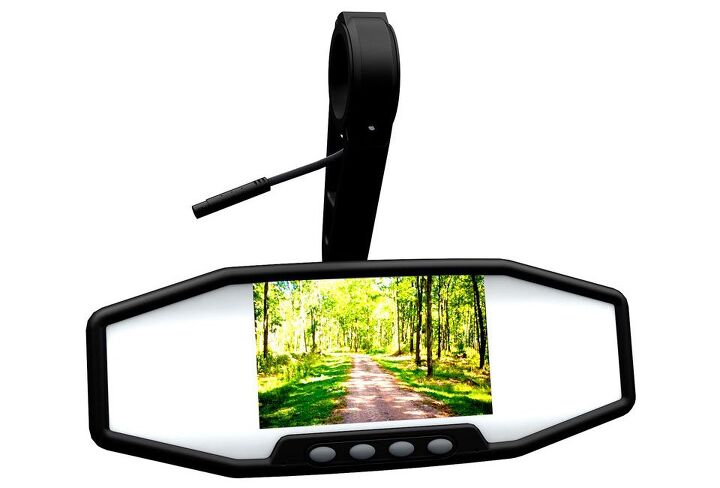
With Total Vision Mirror in hand, insert power and video cable through the ball end of the arm then attach to mirror. Center and attach mirror to the front rollover bar. Ask a pal to assist by standing behind the RZR to assure proper mirror placement. The front-facing DVR and still camera is on the mirror’s front side and proper front- and rear-vision/placement is crucial for clear sight and video recording.
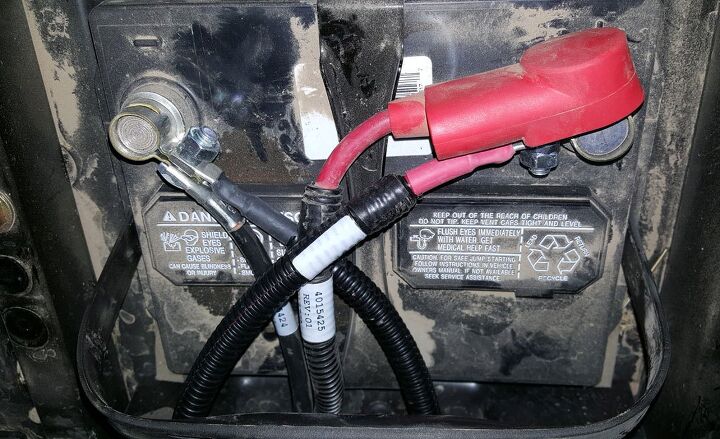
Route the long wiring harness along the center console, ensuring not to interfere with coolant lines and electrical wires. Attach to battery; black cable to “GND,” and red cable to “BAT.”
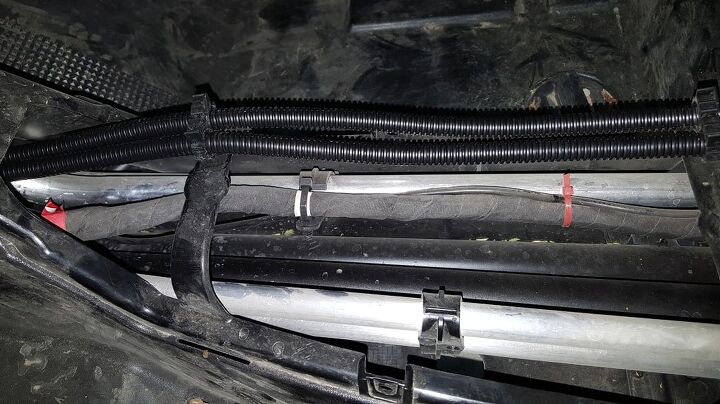
The console tunnel allows the cables to fit with ample room.
Route and mount (attach) power and video feed wire to the ROPS’ horizontal tube and down the driver’s side tube, into and under the underhood compartment, and with the separately-purchased harness attachment, connect harness to “ACC,” “GND,” and “BAT.” Consider using bailing wire, cut to about 12 inches, to pull wire up from under the dash and into the bay in front of the firewall.
Route remaining video feed cable along the coolant tubes and wiring, under the center console, attaching cable at proper locations of need with zip ties, assuring the wire does not move.
Install the rear camera by drilling a three-quarter inch hole at back-center of the rear compartment and attach camera to video feed cable and power cable.
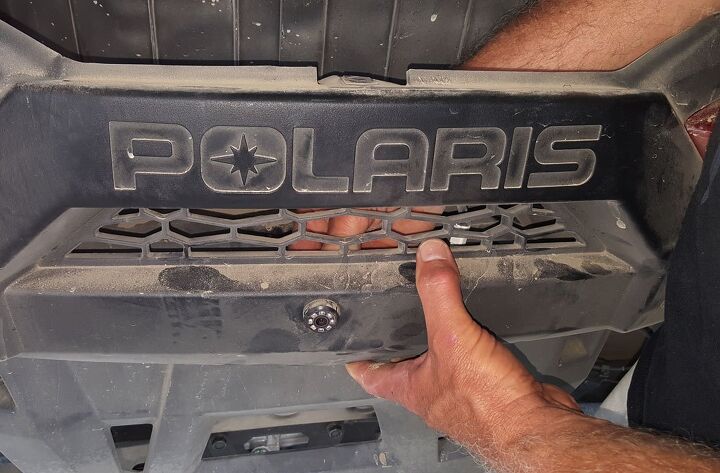
Mounting the rear view camera is a cinch. With some simple measuring, centering and drilling, the camera hole assures a perfect and center fit and placement.
When reading the instructions, following the diagram, the Total Vision DVR Mirror install in fairly intuitive; the key though, from our trial and error, is to have the proper length cable.
Also, choose a good-sized micro- SD card for the mirror, as you can fill it up quickly with front and rear camera footage. One gets lost in the moment when recording.
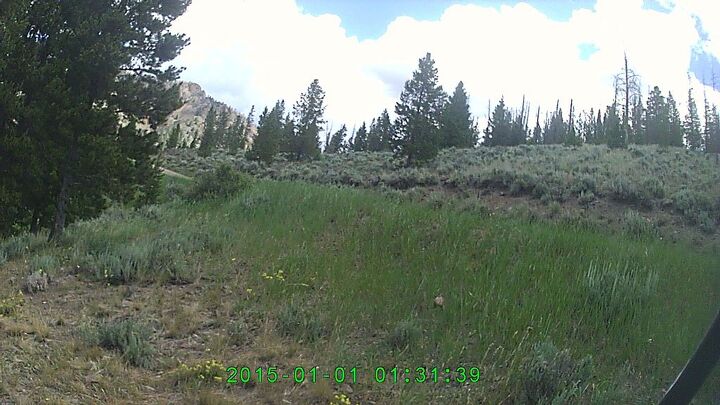
Provided is video footage from the front camera.
We had become accustomed to using the rear view mirror camera for its rear backup camera ability. The very last day the RZR XP was in our garage, I was backing it out to wash it and load it into a trailer. When I started the RZR, I instinctively began pressing the series of buttons to engage the rear backup camera, when the stupid thought came to me, “Nothing is behind me, the F-150 and Explorer are out of the way, and I’m backing up about 15-feet.” As I engaged “R” and starting backing, using the rear view mirror only, without camera, I heard a terrible crash. I immediately knew what had happened.
The morning of, I rode my high-end full carbon race-ready road bicycle, and when done with the ride, I leaned it against the RZR’s backside. My intentions were to change my clothes, return the bike to its loft in my office, and prep the RZR for its return.
This is a still photo taken by the Total Vision DVR Camera.
I backed out the SUV and truck, changed from my cycling clothes to work clothes, made a quick exit from house to garage, started the RZR and – crash. Had I engaged the rear view camera and not relied on the glass only, I would have had the clue a bike was tucked behind the rear compartment.
Point here, when a rear view backup camera is available, engage it. This camera does not automatically engage when the shift selector is placed into “R” for reverse; drivers must manually engage rear view backup camera from the mirror’s many camera end-user settings/buttons.
This was not as clean as we hoped for. When we were at Rally in the Pines, MacKay, Idaho, we visited with the PCI folks, showed them our install and when they saw our less-than clean work, they confiscated our RZR and made the install better. Whew, we were glad they responded. To their credit, PCI are radio pros and we love them.
With our RZR XP tore apart, we proceed.
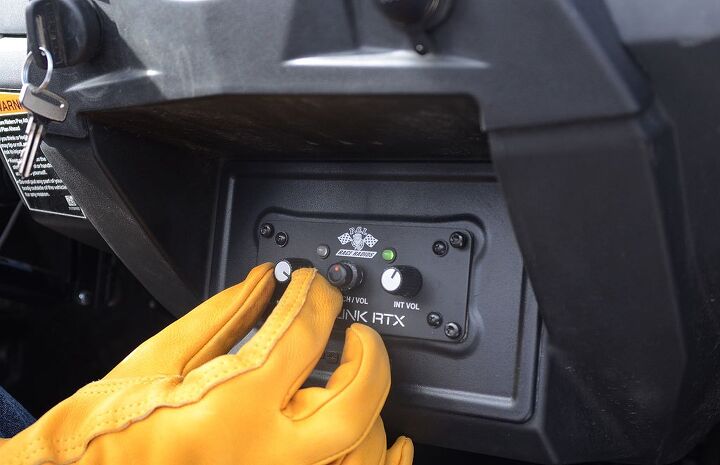
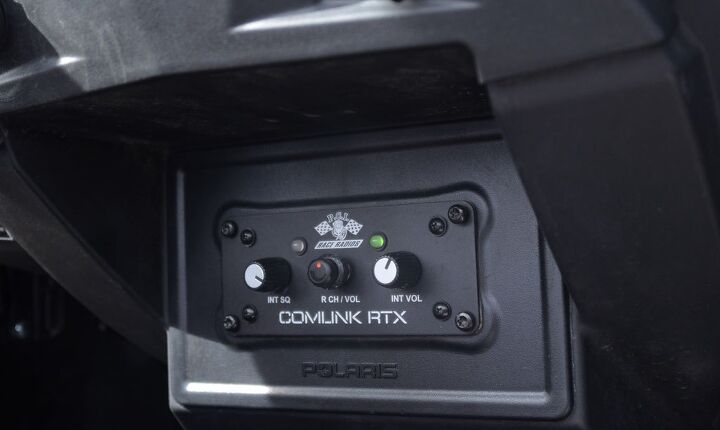
Remove the center dashboard auxiliary radio holder.
Install the RTX radio with install bracket and fastener hardware. Attach power-on cable to same bus as that which powers on the Total Vision Mirror.
Route intercom cables outside the rollover cage, attach with zip ties. Do not route cable inside the rollcage tubes, this will create radio frequency interference as the reception and transmission cables bounce inside the tube, thus killing all attempts at a clear, strong signal. Don’t assume the roll over cage is one big antenna dish.

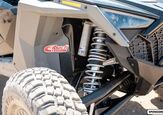
You’ll need a bracket to hold the radio’s antenna. This is not sold by Polaris. However, a Polaris dealer (Action Motorsports in Idaho Falls, Idaho) did fabricate the bracket for ATV.com.
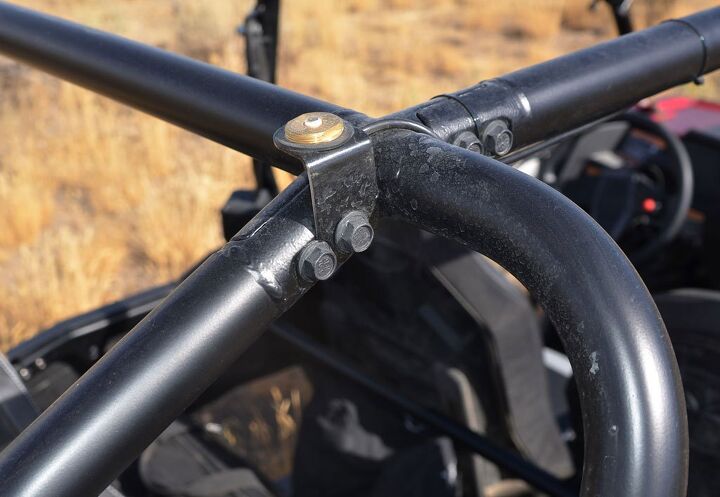
With the antenna, build a bracket (with a three-quarter inch hole) to secure the antenna near the XP’s center, at a roll cage union, where north-south bars intersect east-west bars. Action Motor Sports built the bracket to help us assure a good and proper fit; nothing gaudy or red-neckery, but solid functional fabrication.
The antenna bracket and antenna for the PCI Comlink RTX radio looks clean and professional.
Route antenna cable along roll cage tubes to comm box – The RTX unit. Attach antenna to the newly-built bracket with hole, and tighten.
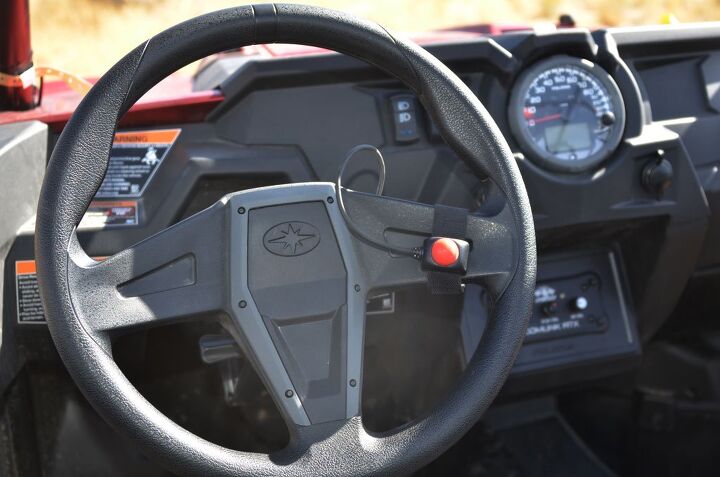
Connect transmission button to steering wheel, and loop and route the transmit on/off call button wires along the steering wheel post and over to radio. The steering wheel-mounted call button is needed for car-to-car communication, provided other cars have same radio.
The two-way car-to-car radio button mounted to the RZR’s steering wheel may look like it will hinder steering wheel rotation, but it does not. This comm button is for car-to-car communication, not person-to-person in the same vehicle.
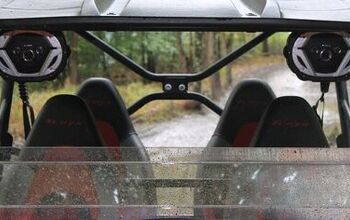
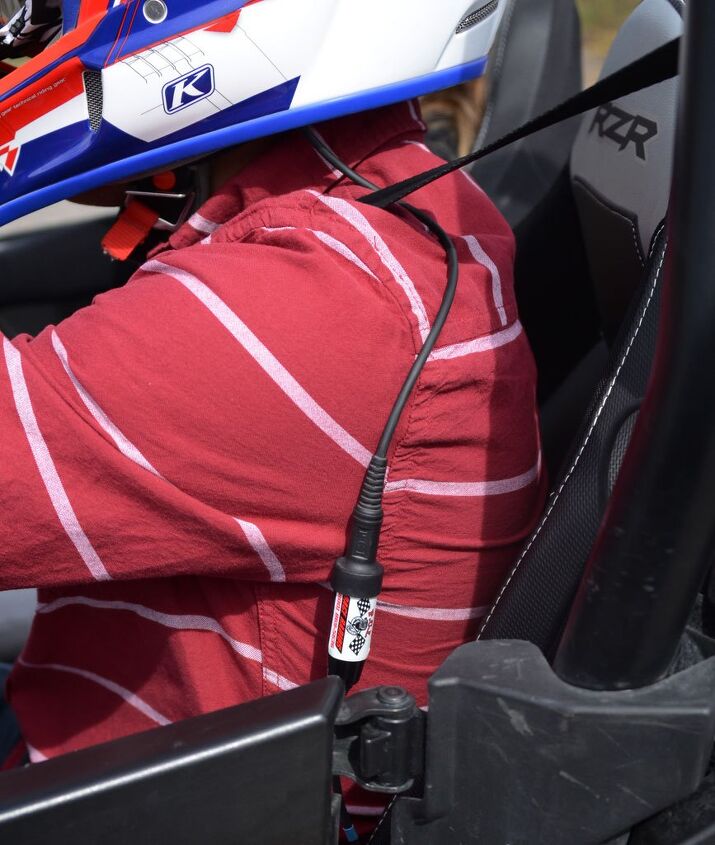
Route headset cables behind the driver and front passenger seat, coiling the comm cables around the grab bar attached and directly behind the driver’s and front passenger’s seat. PCI at Rally in the Pines, corrected our routing, thus hiding the cables and keeping the cables from interfering with the operator and her or his passengers.
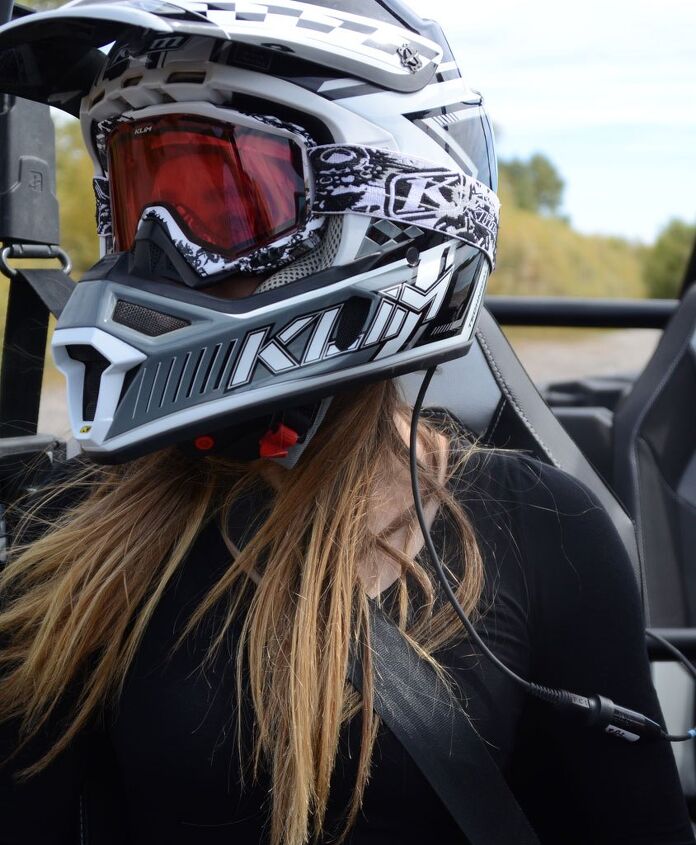
Driver headset cable, when properly routed, in clean and out of the way.
To attach comm pieces to helmets, remove helmet foam and with proper hot glue and following PCI’s instructions to protect helmet foam/insulation, attach microphone and ear pieces; know, these become permanent. (Here is when we relied on PCI’s expertise to install the mic and ear pieces. We were a mess when it came to this.)
Reconnect the battery to the battery cables, insert the ignition key and begin testing and troubleshooting the Total Vision Mirror and RTX comm unit.
With the two installs complete, take the time to clean and inspect the RZR XP. With consoles and hood removed, we blew down the XP, blowing off the dust that accumulated in tight areas. Then with the consoles, hood, battery compartment hood installed, we washed the RZR and its seats.
Passenger radio headset wiring, like the driver’s, does not hinder head movement or passenger fun in any way.
A word of caution, with the RTX’s antenna mounted to the RZR XP, it rises about 24-inches above the ROPS. This antenna is a fixed, not spring-loaded, and it can be easily tore from its bracket if loaded into an enclosed trailer; remove it when removing the RZR’s light whip or high-visibility flag.
We mentioned we are anal about our install, but it was Action Motor Sports and PCI that took our install to the next level; they added the nice professional finishing touches. These folks were a tremendous help.
More by Matt Allred


![Pedal Powered Side-by-Side [video]](https://cdn-fastly.atv.com/media/2022/10/24/8744132/pedal-powered-side-by-side-video.jpg?size=350x220)
![Unique ATV Tire Bead Breaker [video]](https://cdn-fastly.atv.com/media/2022/10/24/8744118/unique-atv-tire-bead-breaker-video.jpg?size=350x220)