Restoring a 2004 Arctic Cat 500 4×4
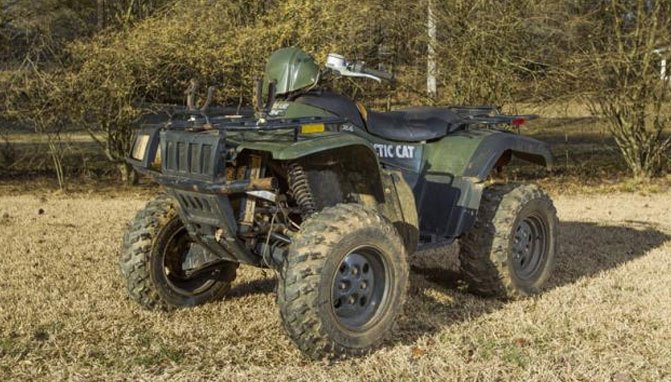
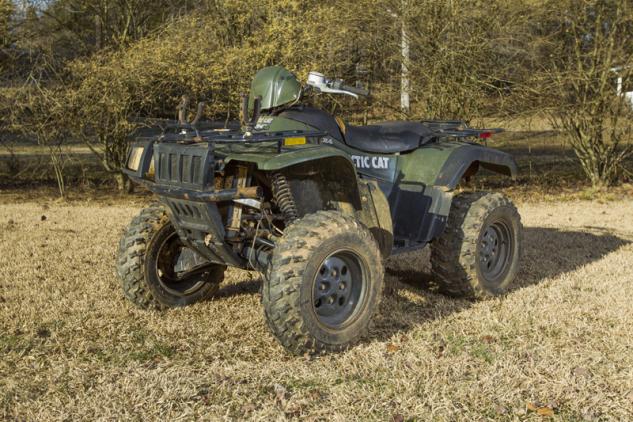
When it arrived in our garage, the 2004 Arctic Cat 500 4×4 wouldn’t start and looked used, abused, and ready for the scrap heap.
Sometimes we fail to see the true diamond in the rough until the pocket change begins to run out and we have to start looking for cheaper alternatives for riding. I know there may be newer machines on the market, but a while back we found a gem that was actually won on a bet I thought to myself, “I bet I could make a fine running machine out of that mess!”
The machine in question is a 2004 Arctic Cat 500 4X4. This ATV had many still usable parts on it and if you just slowed down long enough to look under the rough exterior you could see it was just begging to be ridden one more time.
After a very close inspection I decided to take on the challenge and restore this horribly abused machine to its former glory. One big obstacle, though, was no access to a local dealer or factory parts in my area! I am not sure what you eager readers would have done, but I turned to the world wide web for help. Did you know that many manufacturers have their very own factory replacement parts websites? Arctic Cat has its own site dedicated to offering any and all available parts for its machines and that’s just where we got started. The hardest part was figuring out where to start, as this beat-up machine had many problems to grab our focus.
The first thing I needed to do was to strip the plastics off of the framework, wash the machine very well and get into the hardest hit areas of neglect. A three-gallon pump sprayer and a 50/50 mix of Super Clean and water took off most of the grime in our way.
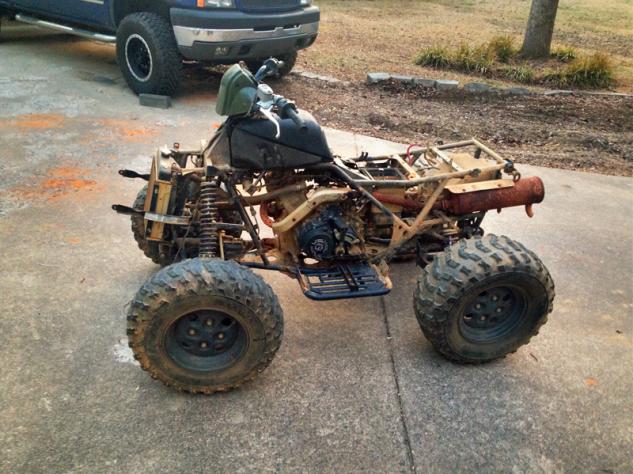
The ATV didn’t look in any better shape when we took off the plastics.
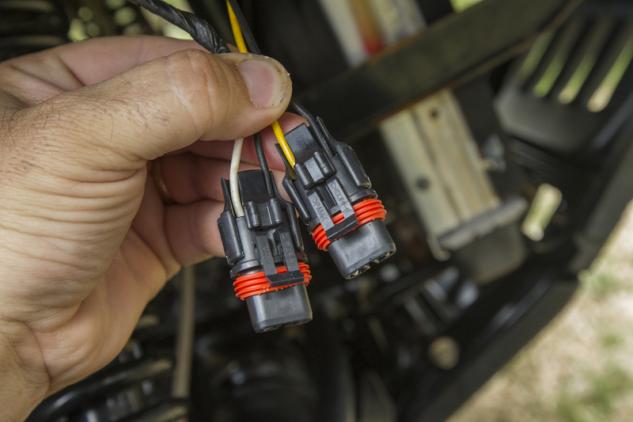
We knew the engine would not crank over using the starter button, so figuring out the wiring was a priority. Unfortunately, the wiring harness had been cut and spliced so many ways it was nearly impossible to figure out just what wires went where. As well, the starter solenoid was completely trashed as it had been jumped via a flathead screwdriver many times until it was fried. The headlights power wires had been tapped on the right side to provide constant power to the cooling fan, which eventually burnt out the fan. This left both the headlights wiring and the fan ruined.
Finding a factory wiring harnesses is not an easy task – even used ones are expensive. After looking for a harness, I gave up the search and decided to work out the issues with the one already on the machine. I took the harness apart in the hacked up areas and just simply repaired each wire that had been cut with solder and heat shrink tubing. The fuse panel was missing many sections, pieces and the protective cover as well so we purchased a donor off of eBay.
A huge headache was sorting out the electrical system of the trashed Cat.
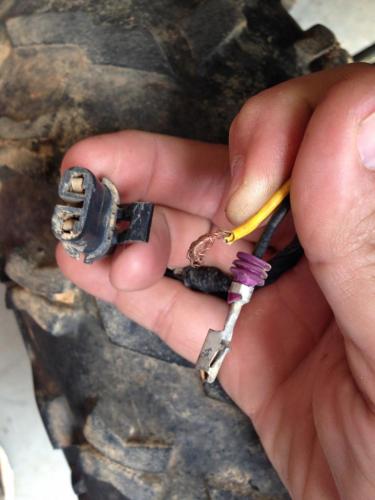
For us, the hardest part to find was replacement light bulb connectors. These are proprietary to the harness on our Arctic Cat and could not be found separated from a full harness. We found the solution upon discovering a similar bulb type and found out manufacturer of the connector. Delphi was the connector maker and within a few calls we had four brand new connectors on the way.
This is where we started to need the help of some factory replacement parts. Our Arctic Cat seat cover was torn in several places, the headlights were broken and ruined by the onslaught of mud and debris left in them after a trip through the big nasty, the handle bar grips were turning to jelly and left nasty rubber goo on our hands each time we touched them, the front plastic headlight cover was missing on the left side of the machine and the right was broken, the rear cargo rack had jagged edges due to it cracking back open where it had been spot welded, and the front bumper looked like Mike Tyson had punched it in the face in a battle to the death. Finally, the rear brakes had frozen up and a complete breakdown with cleaning and new brake fluid was in order.
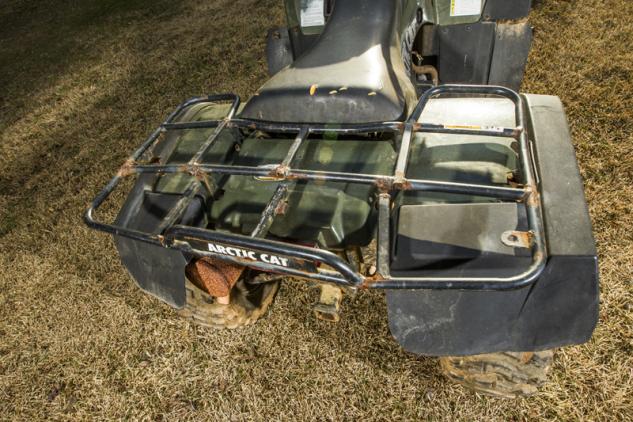
With rusty and cracked welds, the racks were ready to tear the flesh off of unsuspecting hands.
As we gained control of the wiring we noticed the digital dash had a few visibly broken parts and curiosity got the best of our minds. After removing the plastic dash cover we discovered the digital dash enclosure had been busted in an apparent roll over. After breaking out some fiberglass mat and a little resin we had a solid base again for the sensitive electronics. This was not a job for the weak at heart as we spent a few hours repairing and reengineering the dash pod. It was still cheaper than the $350 replacement cost, though. This was a moment of true accomplishment as we not only had the machine starting from the switch on the bars but we also had a working dash. We knew at this point we were on a roll and it was time to turn up the heat.
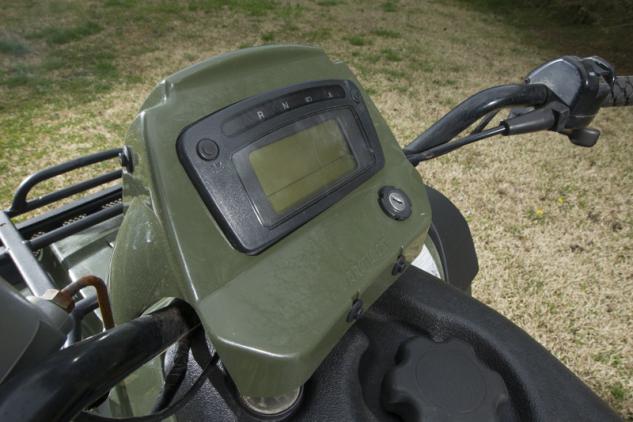
After getting the wiring under control, we noticed the digital dash needed some work.
After visiting Arctic Cat’s part finder homepage we were able to place our order and get the final parts rolling towards the shop. The exploded views on each model page gave us clear and concise detail of each part to make the ordering easier. By simply selecting each part and adding them to our cart we compiled a small basket of must haves as well as some more wants in the order. This project took us many hours of our free time, but saved hundreds in cash. I’ll trade hard labor for dollar savings most anytime.
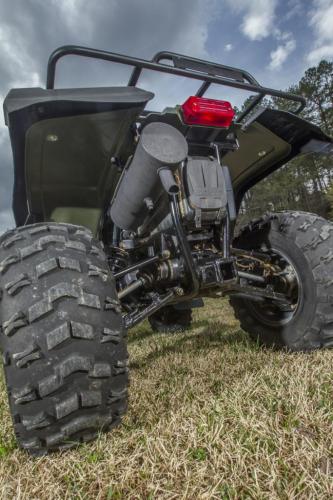
Our final obstacle to overcome was the water in the oil. The head gasket on the 500cc engine had failed, probably due to overheating. This was the most time consuming venture. After this repair the machine was tested to be running perfectly.
Replacing the head gasket and putting in clean oil was a top priority.
Taking our time we carefully remounted the plastics and other dressup items onto the AC 500 4X4 and we finally were able to see the once rough ATV back in its former glory. The new headlights and plastic dress pieces made the machine look incredible. Once the new headlight bulb connectors were installed, we added four new bulbs and the lighting was complete. The racks needed a little paint so we used truck bed liner spray paint to get the job done. We also used the same truck bed liner spray paint to dust a clean coat of fresh paint on the foot pegs and platforms.
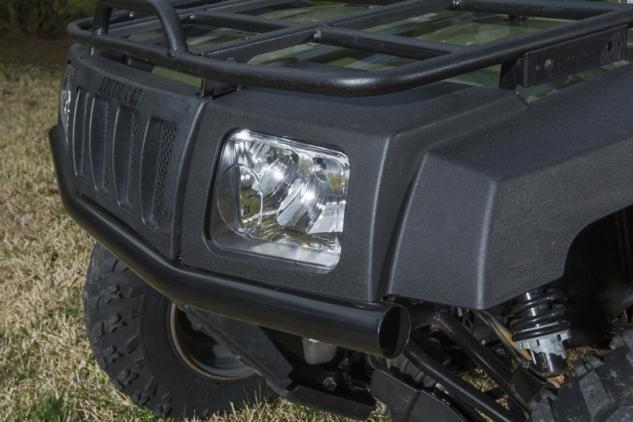
New lights and fresh paint help revive the front end.
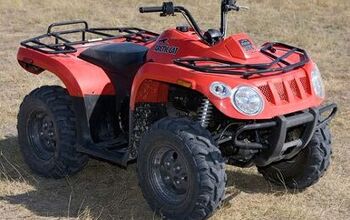
After untold hours of work, out restoration was complete and the ATV now runs like it did when it was new.
We learned that time and a little effort can bring an old machine back from the dead and if you need factory parts try looking up the manufacturer’s own website for genuine replacement components.
The parts store for Arctic Cat can be found at http://store.arcticcat.com/Parts
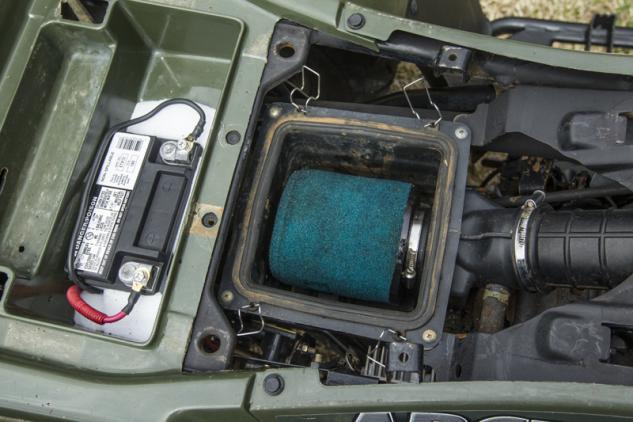
Some much improved electrical components.
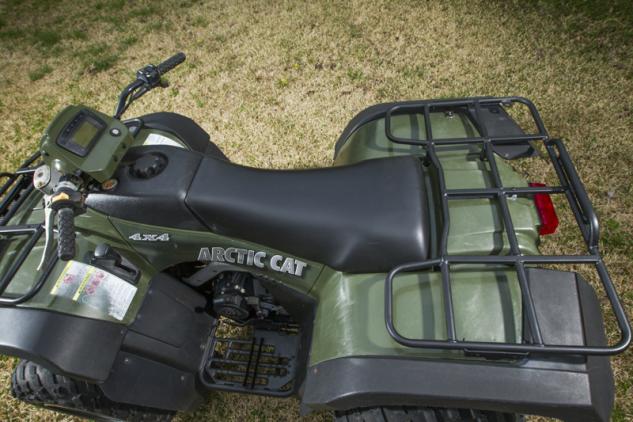
A new seat cover and much-improved racks are much more inviting for riders.
Who knew there was another color of the metal parts than rust?
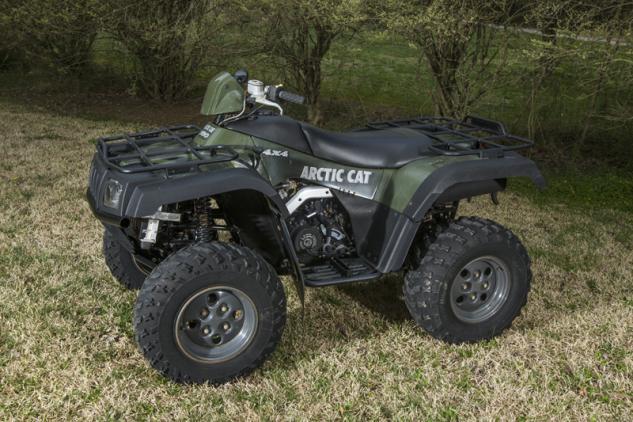
Our 2004 Arctic Cat 500 4×4 looks and runs like it did 10 years ago.
Whether he is in Mexico covering the Baja 1000, building ATVs for local racers, or out enjoying the trails, Rick’s passion shows in his stories. Learning to wrench his own machines from his grandfather, Rick also has an undying appreciation for the mechanics of off-road vehicles. Do not let the dirt and mud fool you, though, as Rick also has a deep love for street cars.
More by Rick Sosebee