How To Replace Wheel Hub Bearings
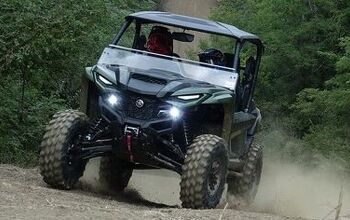
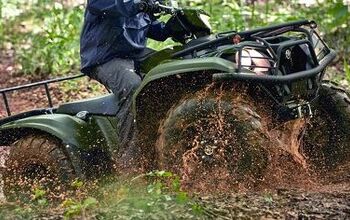
If you own an older model ATV or Side-by-Side, at some you will have to service your wheel hub bearings and it is not always pretty.
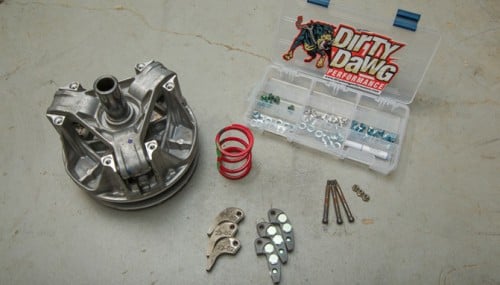
How To Upgrade Your CVT Many things can cause the bearings to go bad and there are a few ways to prolong the life and prevent the damage, providing you catch on soon enough. Most wheel bearings are sealed bearings, but that does not always prevent water from getting in as the bearing ages. There are also seals that go in on top of the bearing itself to keep debris and trail muck from getting in close to a bearing. These can sometimes fail or be prematurely damaged, allowing mud and water to build up on the bearing itself.
If you ride in a lot of water or mud and do not clean your machine on a regular basis, then chances are that your wheel bearings will fail faster. Pressure washing your machine after a good ride is not always a bad thing, but if you put really high-pressurized water in the close proximity of the wheels or axles you could be forcing water and silt into the bearings. Our advice would be to gently spray off any mud or debris with a garden hose. This takes longer, but it could prolong the life of your wheel bearings and any other pivot bearing for that matter.
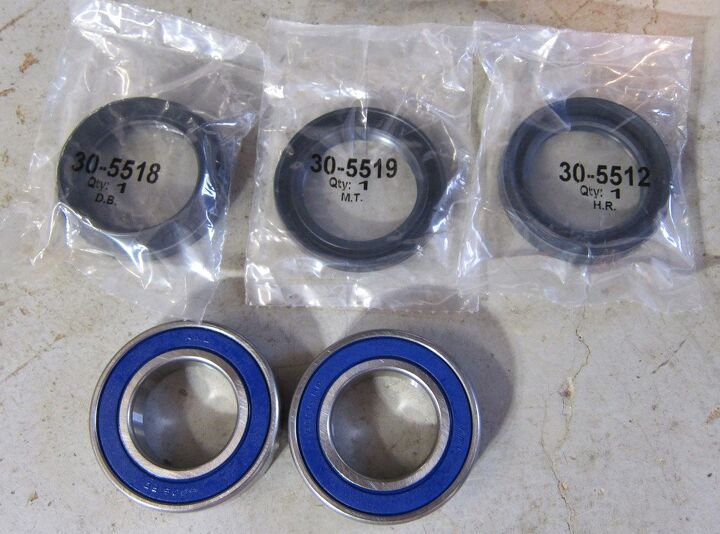
Bearings and seals are available from various manufacturers but we finds that All Balls products seem to hold out the longest.
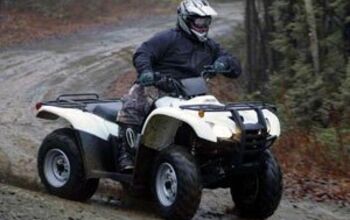
We have laid out a basic process for bearing access and replacement using a Suzuki Eiger 4×4. Most utility ATVs and also the vast majority of UTVs 2010 and older will use the same basic process, but a good OEM service manual is always nice to have for reference when working on your particular model.
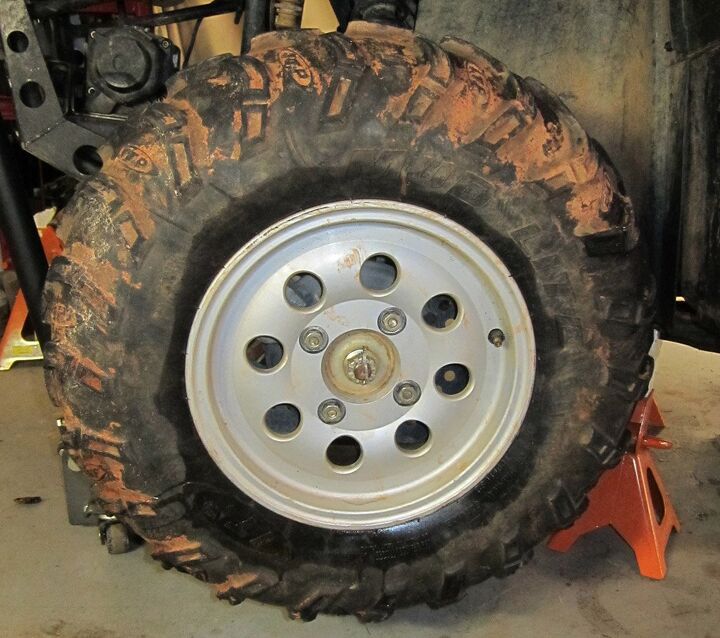
Obviously you will need to jack the machine up and place it securely on a stand of some kind. This is primarily for your safety, but it also allows a better access point to the wheel hub assembly. After removing the wheel I like to place it under the machine just in case the jack or stand fail or become dislodged as this will give me a little room between the machine and the floor to escape should I have a foot or leg under there.
Be sure to add a jack stand when getting the front end jacked up to keep the machine where you want it.
Removing the lower shock bolt and freeing the shock will allow better range of motion in the suspension for even better access to the parts you need to remove. Loosen the top shock bolt and raise the shock up out of the way.

Unbolt the shock and move it up out of the way in order to get more free range movement in the suspension while you work on it.
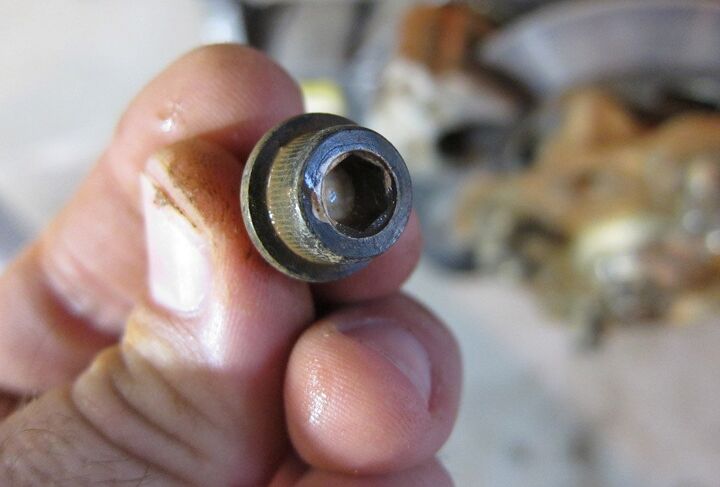
After the wheel comes off you will be staring at a wheel hub. There should be a large castle nut on the end of the axle and potentially/hopefully a cotter pin sticking through the castle nut. In some cases you will have what’s called a stake nut on the end of the axle instead of a castle nut. The outer face of the stake nut is thin and flexible metal and should be staked into a keyway on the end of the axle. This insures the nut does not back off. Most will say these can be reused, but this is something that is cheap and it would be in your best interest to simply replace it with a new nut.

The axle nut varies from one ATV to the next. The castle nut is common, but a stake nut may be found on others.
After removing the axle nut you will need to focus on the brake caliper. The caliper will have 12-14mm bolts or an Allen-head type bolt. Our Suzuki Eiger had the Allen-head bolt. There should be two bolts holding the caliper in place. Once removed, the caliper can be slipped off of the brake rotor. This should allow the wheel hub to slide off of the axle.
The brake caliper bolt’s can be either Allen head or metric flange head bolts.
This is when you will want to remove the steering tie rod from the knuckle as it is much easier than when the knuckle is loose from the suspension arms. There should be a castle nut and cotter pin on this part as well.
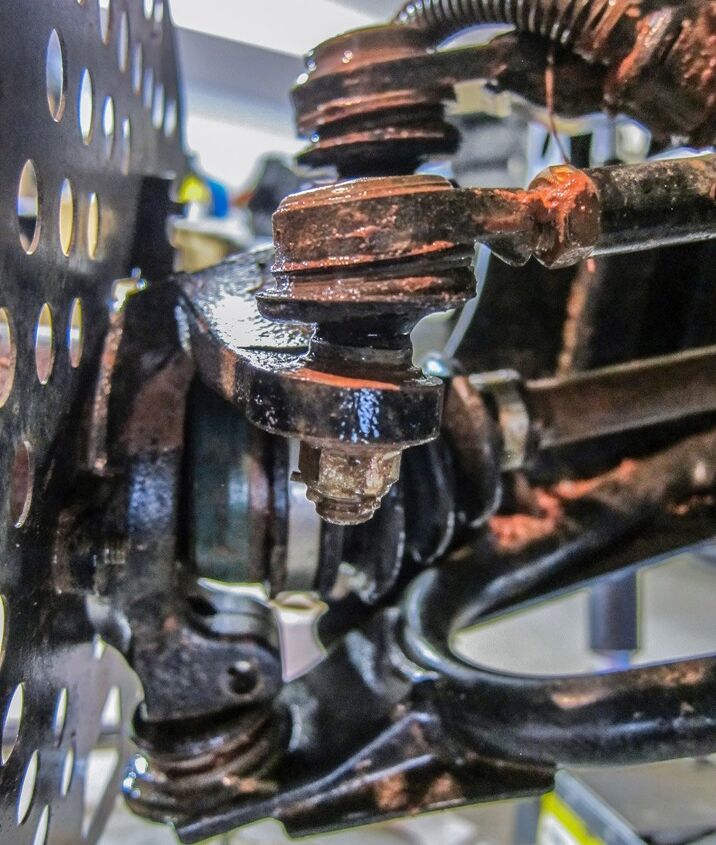
Removing the steering tie rod before loosening the ball joints simply gives you more leverage on the small castle nut.
Your next focus will be on removing the wheel bearing knuckle from the suspension arms. This Suzuki has a pinch bolt type connection holding the upper and lower ball joints to the bearing knuckle. By removing the bolt, the end of the ball joint should slip out of the knuckle. You may need to encourage the arms to drop off with a little help from a good hammer. Once free from the control arms you can now start on removing the outer seals and bearings.
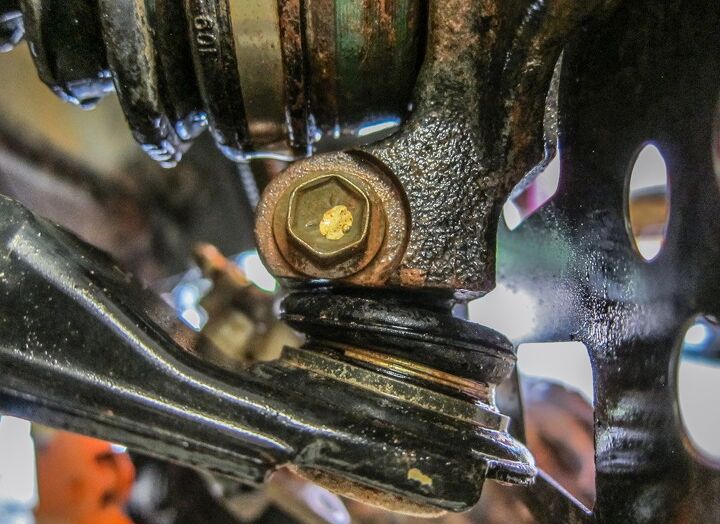
These upper and lower ball joints are held in place by a simply pinch bolt system.
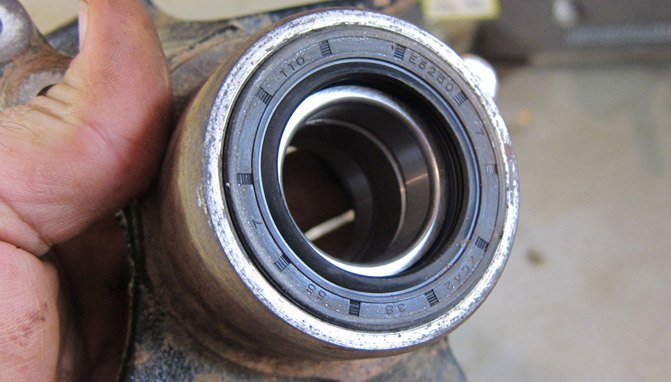
The seals in the bearing knuckle will need to be removed first if they are still intact. This then gives you access to the bearings. Our Suzuki Eiger has a small spacer between the bearings. When pushed aside, this allows enough space to gently tap the bearings out with a long center punch. This can be a tough task, but be patient and be sure to move the punch from side to side, tapping a little at a time to keep the bearing square in the hole so it will come out easier.
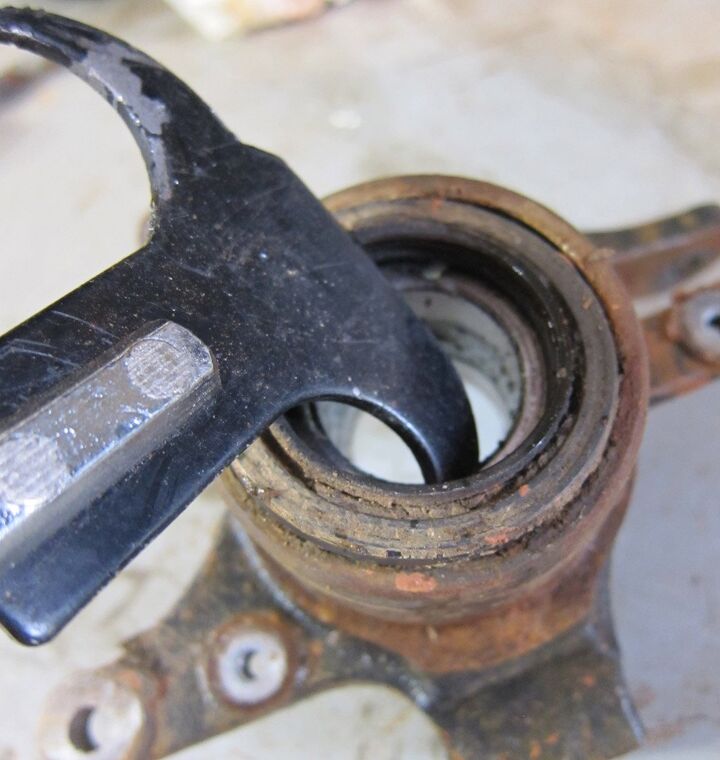
Getting the outer seals off of the knuckle is easy with a seal removing tool or a flat head screw driver.
The bearing spacer can be moved from side to side to allow access to the bearing race below. The bearings have to come out each side and will not push all the way through the knuckle on most machines.
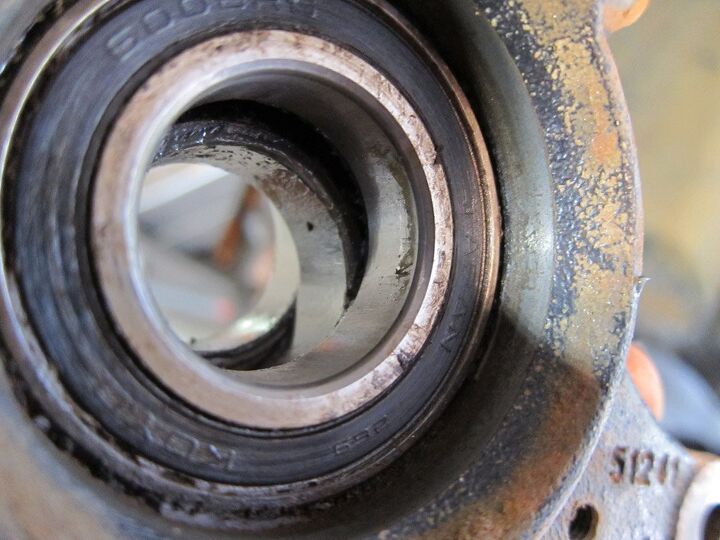
Once the old bearings are removed, the knuckle needs to be cleaned and it is ready for new bearings. Simply look for a good socket that fits the outer race size of the bearing to be used for reinstalling the bearing into the knuckle. Be sure you do not hit the inner race of the bearing or use it to install the bearing as this could weaken or potentially break the new part. The seals will go in the same way and should seat on the outer edge of the knuckle. Be sure you do not forget to install the spacer between the bearings.
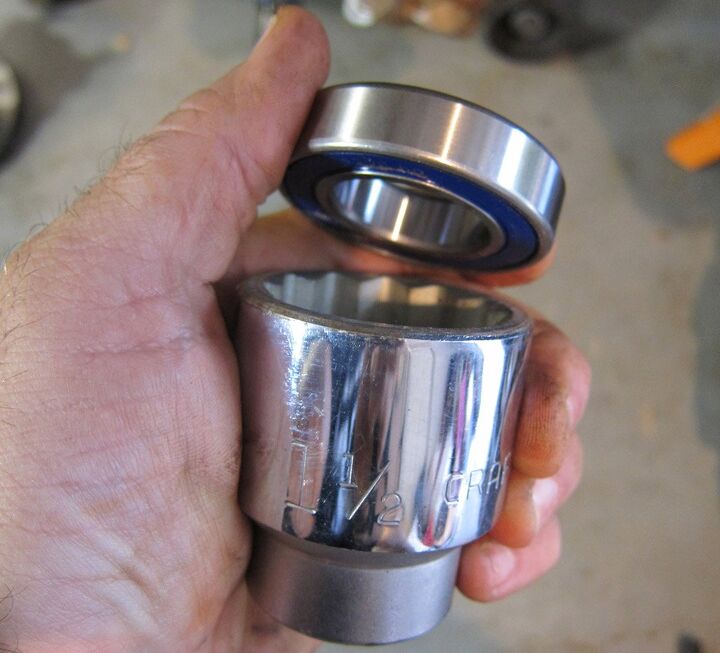
I used this large socket in lieu of a traditional bearing press as it was the perfect size to get the bearing seated in the knuckle.
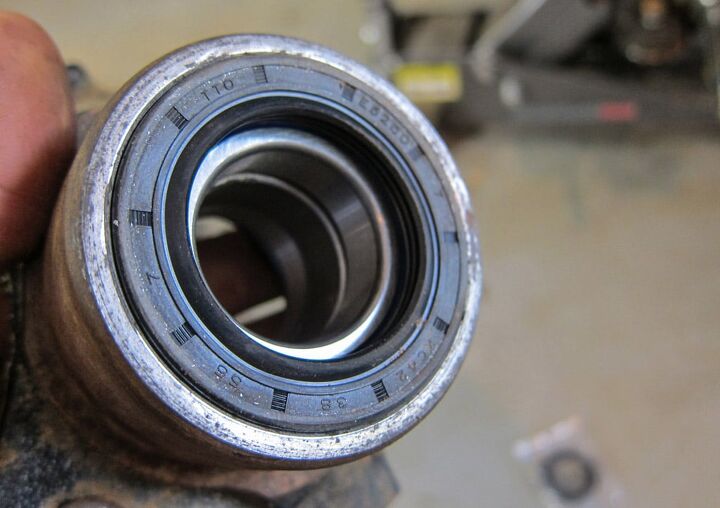
Most seals will seat just under the surface of the bearing knuckle. If the seal goes in too far the lip may not seal correctly.
Though not all bearing knuckles are the same, for the most part you will be able to read between the lines once you dig into the repair. This is also a great time to look for worn tie rod ends or even ball joints and a great time to replace them while the machine is already torn apart.
Whether he is in Mexico covering the Baja 1000, building ATVs for local racers, or out enjoying the trails, Rick’s passion shows in his stories. Learning to wrench his own machines from his grandfather, Rick also has an undying appreciation for the mechanics of off-road vehicles. Do not let the dirt and mud fool you, though, as Rick also has a deep love for street cars.
More by Rick Sosebee