How should you wash your ATV after a ride?

Washing your ATV after a ride is an easy way to maintain its performance, longevity, and appearance. While the wash process is nowhere near as exciting or fun as that which comes from the ride itself, it can actually be enjoyable and a time to reminisce over the reasons that the four-wheeler got dirty in the first place. Best practices can vary, but following these steps are an easy way to clean your ATV effectively and keep it in top condition.
Step 1: Preparation
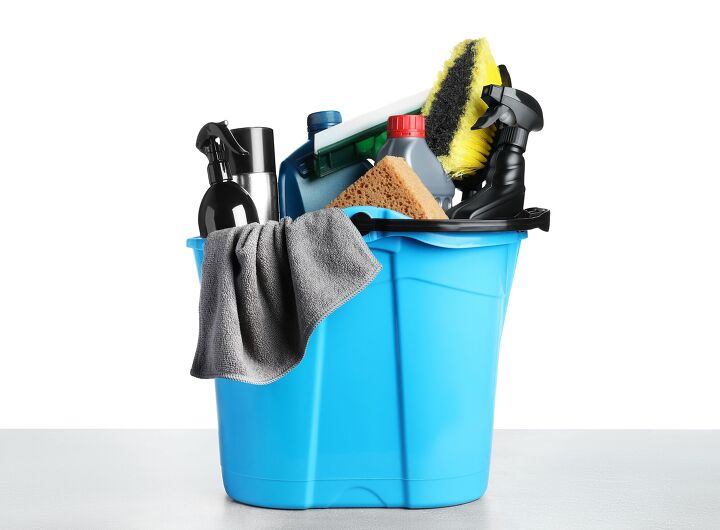
Gather the necessary tools and materials before starting the cleaning process. You'll want (and in some instances need) a hose, a soft-bristled brush or sponge, a bucket, cleaning solution or mild soap, degreaser, a microfiber cloth or towel, and a lubricant or protectant for metal surfaces should you so desire.
Step 2: Cool Down and Rinse
Allow your ATV to cool down completely. A hot engine can cause water to evaporate quickly, leaving behind water spots or streaks. Start by rinsing the ATV with a hose to remove loose dirt, mud, and debris. Use moderate water pressure to avoid forcing water into sensitive areas like bearings or electrical components.
Note that this step may be subject to some differences region-to-region, as you’re not rinsing a quad off in sub-zero temperatures, and place-to-place, as some offer on-site washing stations that may come with the territory of washing your machine while it’s still cooling off.
Step 3: Apply Cleaner
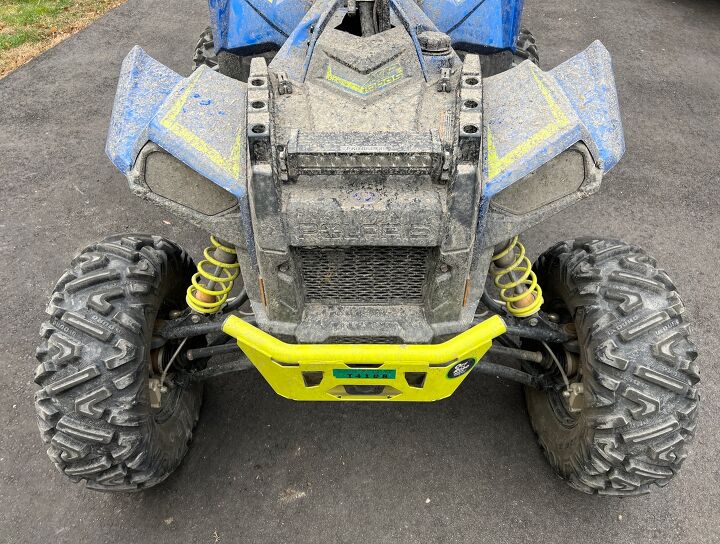
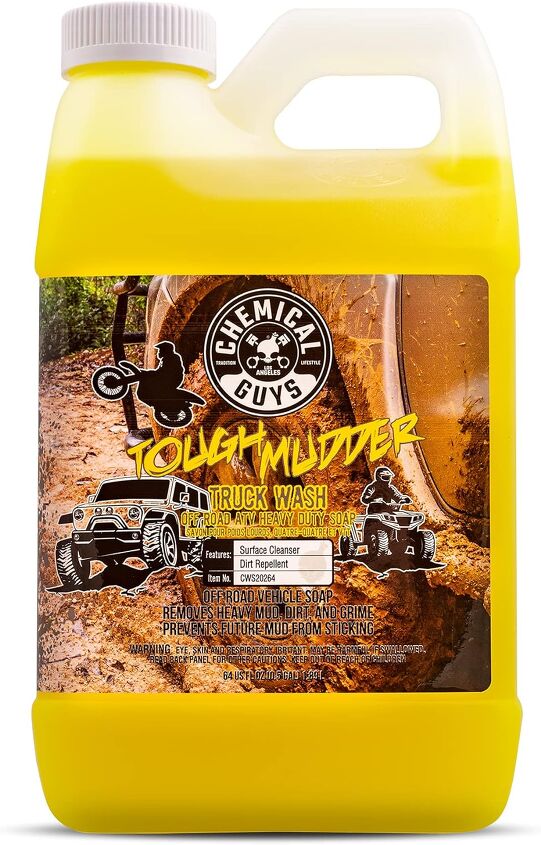
Prepare a cleaning solution according to the manufacturer's instructions or use a mild soap diluted in a bucket of water. A 5-gallon bucket is a good go-to here as a catch-all for easy washing. Apply the solution to the ATV's surfaces, starting from the top and working your way down. Use a soft-bristled brush or sponge to gently scrub areas with stubborn dirt or grime, or any washing vessel of your choosing if the condition of your plastics isn’t as much of a concern. Even a broom can work in a pinch. Focus on areas like the wheels, undercarriage, and engine where dirt tends to accumulate, and pay special attention to hard-to-reach spots like wheel hubs, brakes, axles, u-joints, radiators, and so on.
Step 4: Degrease if Necessary
For areas with heavy grease or muck buildup, use a degreaser. Apply the degreaser to these areas and let it sit for a few minutes to break down the grime. Then, scrub gently with a brush (ideally a different one from that which you did your heavy cleaning) and rinse thoroughly.
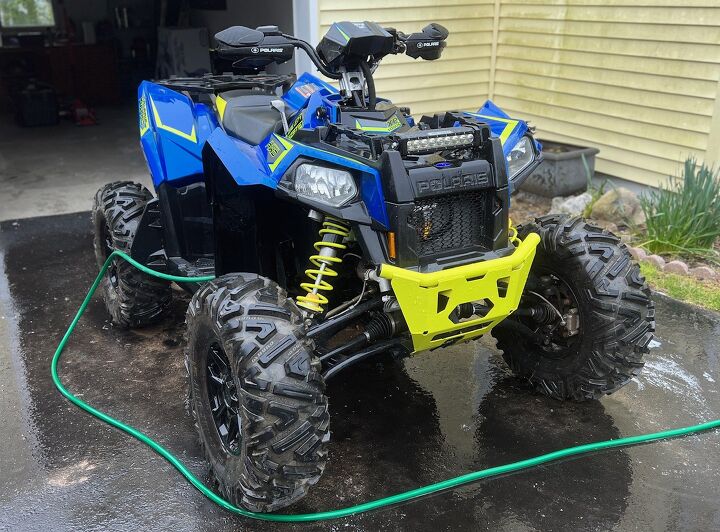
Step 5: Rinse Thoroughly
Once you've cleaned all the surfaces, rinse the ATV with clean water. Ensure that all the soap or cleaning solution is completely washed off to prevent any residue from affecting the ATV's finish.
A power washer can be used if done safely and at a pressure which won’t hurt the machine.
Step 6: Dry the ATV
Using a microfiber cloth or towel, carefully dry the ATV to prevent water spots and corrosion. Pay attention to hidden or hard-to-reach areas where water might collect. Let the ATV air dry for a while to ensure all moisture has evaporated before proceeding to the next step.
Optional Step 7: Apply Protectant/Lubricant
After the ATV is completely dry, apply a protectant or lubricant to metal surfaces to prevent corrosion and maintain shine. Use a product recommended by the ATV manufacturer for best results. Avoid getting these products on surfaces like brakes or tires.
A protective coating is another optional choice here that can prolong the ATV’s paint or just help appearance maintenance stay relatively easy. You can apply a silicone spray or ATV wax to protect the plastic, metal, and rubber surfaces. This helps prevent fading, cracking, and corrosion, but only in a limited capacity as we found out.
Step 8: Final Inspection and Condition Report
Once you've completed all the steps, perform a final inspection. Check for any missed spots or areas that need further attention. Now that the machine is clean, this is an excellent opportunity to inspect the ATV for any signs of damage or wear that might need attention or need repair.
Step 9: Storage
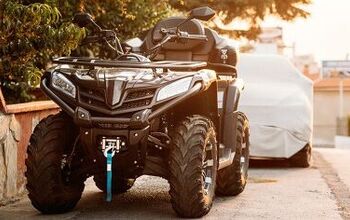
If you're not planning to use the ATV for a while, consider storing it in a dry, covered area to protect it from the elements. Covering it with a breathable ATV cover can help prevent dust buildup. Also be sure to use some kind of rodent repellent to prevent damage to wires and insulation.
Maintenance Tips:
- Regularly clean your ATV after rides to prevent dirt buildup and corrosion.
- Use a pressure washer cautiously, as high pressure can force water into sensitive components, causing damage.
- Avoid using harsh chemicals or abrasive tools that could damage the ATV's finish.
- Check the owner's manual for specific cleaning recommendations and product suggestions from the manufacturer.
- By following these steps and regularly maintaining your ATV, you'll ensure its longevity, performance, and appearance, allowing you to enjoy many more thrilling rides in the future.
Ross hosts The Off the Road Again Podcast. He has been in the off-road world since he was a kid riding in the back of his dad’s YJ Wrangler. He works in marketing by day and in his free time contributes to Hooniverse, AutoGuide, and ATV.com, and in the past has contributed to UTV Driver, ATV Rider, and Everyday Driver. Ross drives a 2018 Lexus GX460 that is an ongoing build project featured on multiple websites and the podcast and spends his free time working on and riding ATVs.
More by Ross Ballot


![Don't Try This at Home: Muddy Crash [video]](https://cdn-fastly.atv.com/media/2022/10/24/8744120/don-t-try-this-at-home-muddy-crash-video.jpg?size=350x220)