


Yamaha Raptor 250 Project – Part 1
ATV.com is building up a Project Yamaha Raptor 250. This is the first article in a six-part weekly series. Once the build is complete, we will be giving away the modified Raptor to one of our readers. Click here to enter for a chance to win.
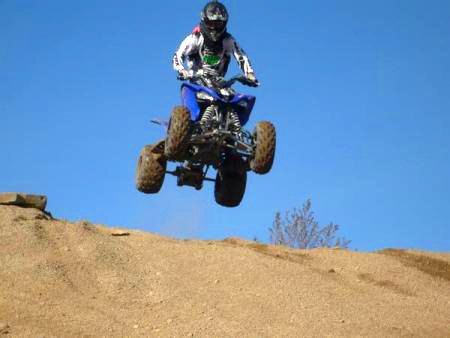
If you haven’t had a chance to throw a leg over Yamaha’s race quad prodigy, the Raptor 250, you’re missing out. You may think a 250cc machine might not sound like much compared to the more race-ready 450cc machines out there but the Yamaha Raptor 250 is an absolute blast! With an MSRP of $4,499 it’s also a lot more affordable.
After taking the stock Raptor 250 out for an initial test, it was obvious that this was already the top 250cc quad on the market. It’s the perfect machine to replace the Blaster in Yamaha’s diverse line of ATVs. However, we like to go fast so we figured the Raptor could use a little boost in the power department. Luckily GYTR makes a few accessories that wake up the Raptor 250 engine and provide more power to this already boisterous machine.

The beauty of using GYTR accessories, besides their proven performance, is that you know they’re going to fit perfectly so installation is a snap. Trying to fit aftermarket parts onto your ATV can be sometimes be a frustrating experience, especially if things don’t line up precisely. Using GYTR accessories makes you feel like you actually know what you’re doing…even if you don’t.
We started with the GYTR Performance Muffler ($349.95). Upon firing the ignition you can immediately hear a difference in the sound. The GYTR pipe has a deep sound – much closer to its cousin the YFZ450 than the stock Raptor 250. This exhaust system alone provides a tremendous power boost compared to stock form. With the GYTR muffler we found that there was a substantial improvement in the bottom end though mid-range in addition to making our gears just a bit taller and providing more grunt though all five gears.
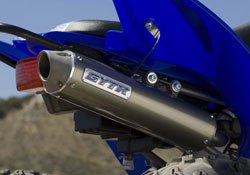
Though we didn’t have a chance to put the Raptor 250 on a dyno to see the results, out “seat-of-the-pants” dyno tells us these GYTR add-ons provide a significant power boost when paired with the GYTR Performance Muffler.
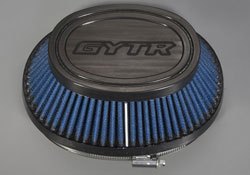
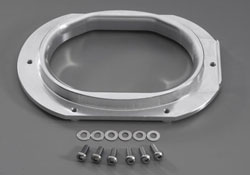
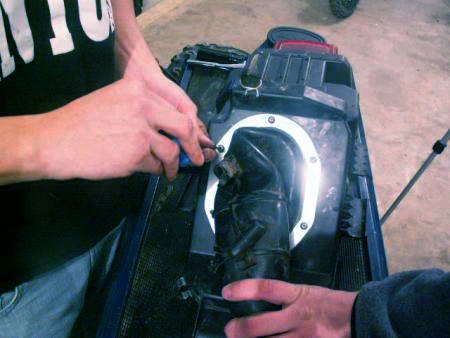
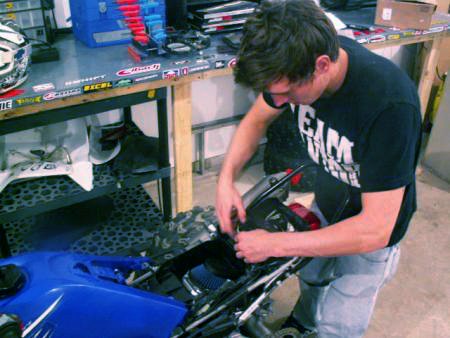
Installation of the new air filter was a little different than replacing a typical foam filter because the GYTR High Flow Air Filter requires an adaptor plate, which replaces the mounting system for the stock filter. Check out our step-by-step install below.
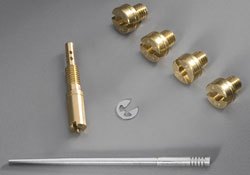
We found with the addition of the GYTR Performance Muffler, High Flow Air Filter, Air Filter Adaptor Plate and Carburetor Jet Kit uncorks the Raptor 250 and begins show what this awesome machine is capable of.
Even though the Yamaha Raptor 250 is a ton of fun from the factory, you could always use little more power to give you that extra edge! If you’re looking to up the ante of your Raptor 250 with a bit more power, it makes sense to take a close look at what GYTR has to offer.
Check back next week for Part 2 of our Raptor 250 project as we install and test some sweet rims from MotoSport Alloys and new rubber from Kenda. Click here to enter the Raptor 250 contest.
Related Reading
More by ATV.com Staff


Comments
Join the conversation