


How To Replace a UTV Belt
A UTV’s belt is a critical component that must be maintained, or at the very least inspected, periodically to ensure proper operation. No one wants to end up stranded along the trail or out in the dunes, particularly when checking the UTV belt for wear and replacing if necessary is a quick and easy process. Your driving style, terrain and regularly carrying a heavy load are all things that can contribute to more rapid belt wear.
Checking the UTV belt is not a “pre ride” maintenance activity, but it is suggested that the user inspect the belt periodically. For the machine in question, a 2018 Polaris General 1000 Ride Command Edition, Polaris suggests inspecting the belt every 50 hours, six months or 500 miles.
While not all machines are the same, Polaris has made this process very convenient, so much so that you can make the repair with only the factory included toolkit.
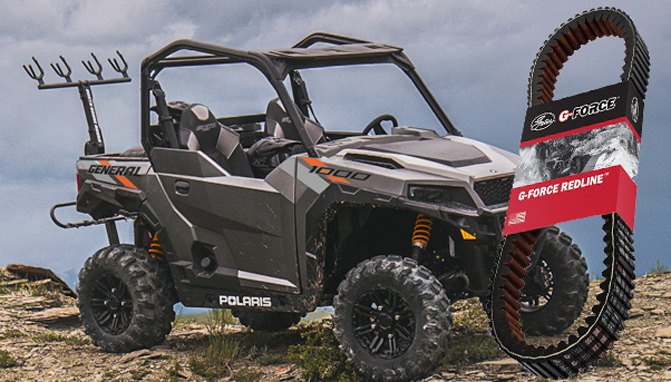
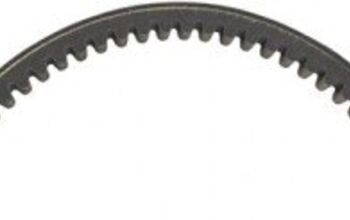
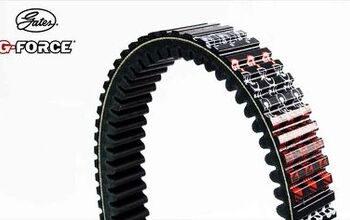
Gates UTV Belts
Before we dive into the nuts and bolts of this repair, we want to talk a little bit about our specific replacement UTV belt. Gates Corporation is a worldwide purveyor of power transmission products that has been in existence for over 100 years. Their extensive research into materials has lead them to develop the G-Force RedLine series of CVT belts. With today’s high horsepower side by sides capable of producing north of 200 horsepower with modifications, having a CVT belt capable of handling extreme conditions from heat and torque is imperative.
Gates is the first company on the market to offer a CVT belt for side by sides that utilizes Ethylene Elastomer; a patented compound designed specifically to improve compression stiffness, increase longevity (the life of the belt) and resist heat. Heat is a belt’s greatest enemy.
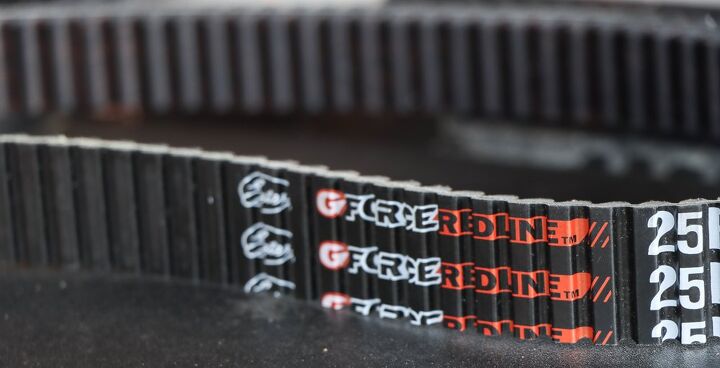
If you’ve ever been operating under a load and you catch a whiff of an unpleasant odor, chances are pretty good that’s your belt. And it smells bad because it’s heating up as it spins on the machine’s clutch pulley. The Gates G-Force RedLine series of belts is specifically designed to reduce the friction caused when operating in these scenarios and handle the extreme heat created under these conditions.
Recovering from high temperatures without losing power, being able to withstand higher temperatures (as high as 338 degrees) and reducing the power lost when operating under heavy loads or torque are a few of the reasons we feel the G-Force RedLine UTV belt is among the premier CVT belts on the market. Did we mention that Gates claims to have experienced up to 300% increase in belt life in their own tests?
Removing the UTV Belt
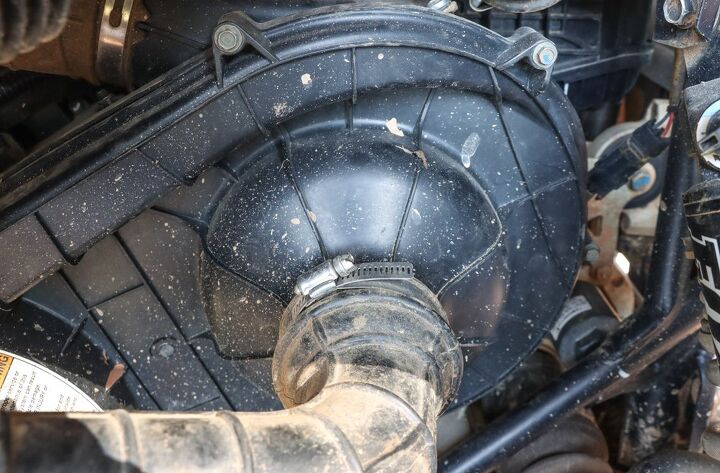
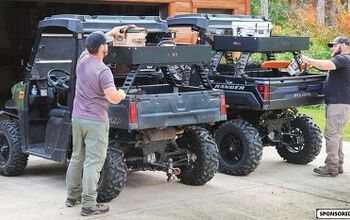
For this simple repair all you’ll need is an 8mm wrench, a flat head screwdriver or 5/16 wrench (for the hose clamp) and the dual purpose shock/clutch tool from your factory supplied tool kit (Check the glove box). Begin by using the screw driver or 5/16 wrench to remove the hose clamp securing the intake boot to the clutch cover. Pull the boot off and out of the way of the clutch cover and remove all eight bolts securing the clutch cover to the clutch housing. You’ll probably need an extension of some kind to get at the lower bolts.
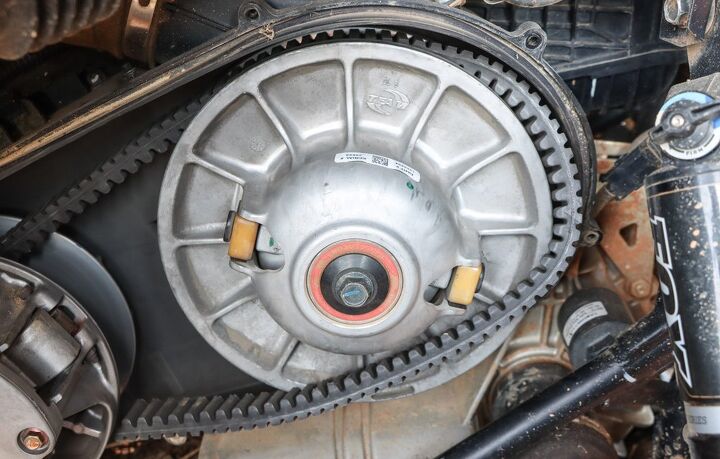
With the clutch cover removed you’ll be able to see the entire drive assembly consisting of a primary clutch, the belt and a driven clutch. To remove the belt you’ll need to relieve the tension by separating the two aluminum sheaves on the driven clutch assembly. Using the clutch tool from the toolkit, insert the hook end labeled “clutch” into one of the holes on the driven clutch, resting it against the yellow sheave roller. As you press away from you, the sheaves will separate and you’ll notice the belt’s tension will decrease.
With the sheave roller still depressed, begin to work the belt off of the sheave beginning with the lower side first. Once you’ve removed a significant portion of the belt from the sheave, you can release the clutch tool. Continue working the belt off the driven sheave until it is completely off and then remove from the primary clutch.
Before installing the new UTV belt, you’ll want to check the clutch housing and both clutch assemblies for debris. This is particularly important if the belt came apart while operating or if you find chunks missing from the belt. In that case, ensure the old belt, chords and any rubber from the broken belt are removed before installing the new one.
You can also clean the sheaves with an abrasive (like a Scotch-Brite pad) and some rubbing alcohol to remove dirt and debris that would cause the new belt to slip. You likely won’t have these items if you’re doing a belt change out on the trail, but the main thing is to remove any debris and get the sheaves as clean as possible.
UTV Belt Installation
If the new belt is not marked with a directional arrow, insert it so that any text on the belt can be read from left to right with the belt installed on the vehicle. Begin by feeding the belt over the drive clutch and resting the belt between the primary drive sheaves.
Continue wrapping the belt around the driven clutch sheaves, beginning at the top and working your way down. You’ll need to insert the clutch tool again to separate the sheaves and relieve the tension on the belt. It can be very snug because a new belt is not broken in and is much tighter than the belt you removed.
Once the belt is fully installed and properly seated between the sheaves on both the drive and driven clutches, manually rotate the driven clutch a half a dozen times or so to work the belt up to the top of the driven sheaves. This is important so the belt is in the proper location the first time it engages. (Think trying to start a car in third gear.) You can also accomplish this by revving the machine in neutral the first time you start it up after replacing the belt.
To finish, simply reinstall the clutch cover and all eight bolts securing it to the clutch housing. Reattach the intake boot to the clutch cover, tighten the hose clamp and you’re all set.
Now before you hop back in and go pedal to the metal, keep in mind that a new belt needs to be broken in. Every manufacturer may have a different method of braking the new belt in, but Gates suggests driving the vehicle in two wheel high for 20 minutes, and varying your speed between 25 and 45 MPH, avoiding hard acceleration and hills. Let the machine cool and repeat the process for another 20-minute heat cycle.
That’s all there is to it. This is a super simple repair you can make along the trail or in the comfort of your own shop. For more info on choosing the right CVT belt or learning why belts fail and how you can avoid it, check out some of our other articles. For more info on the Gates G-Force RedLine series of belts visit Gates.com.
More by Sponsored Post


Comments
Join the conversation