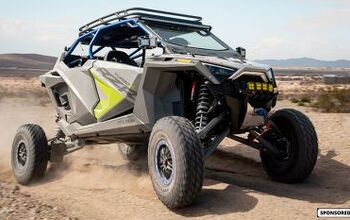
How To Upgrade Your CVT
One of the easiest ways to get more grunt out of your Utility UTV is to upgrade the CVT clutch.
Many off-road enthusiasts will add larger tires and lifts to their machines, without considering the strain it puts on the engine and transmission. Larger tires are not only harder to spin, but heavier as well. The CVT clutch can be modified or you can also buy complete drive or driven clutches ready for the application you desire.
Heavier clutch weights and spring tensions adjust how and when the clutch will engage, as well as at what rpm they do so. This can give you a better use of the available power according to how you use the machine.
Most use more positive engagement and belt clamping pressure to prevent slippage as well as engine braking. These changes also adjust when the clutch actually engages. For machines with larger tires and/or lift kits, you do not want much or any slipping at all or you can burn a belt very quickly.
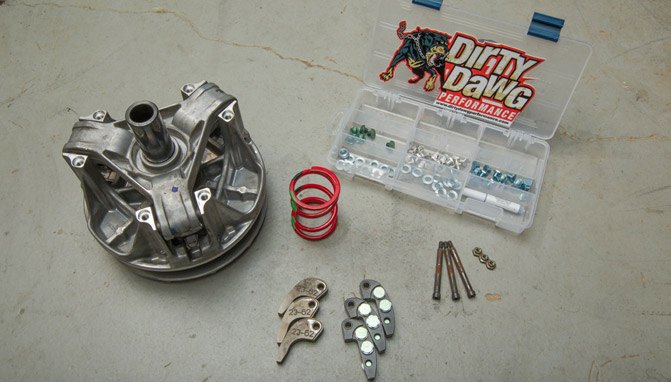
Dirty Dog Performance offers a clutch system that comes as a well-calculated bolt-on system that can be adjusted with kits that are included with the sheaves.
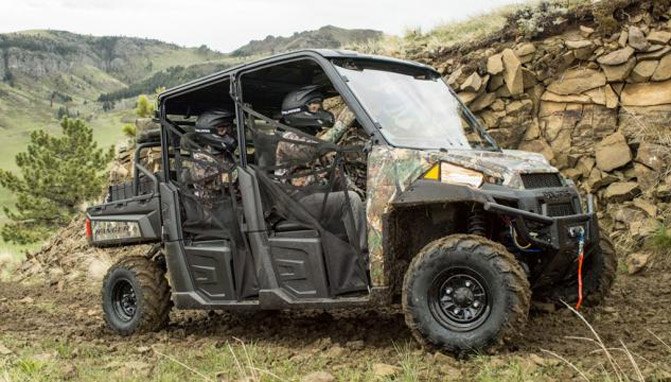
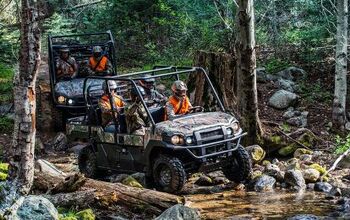
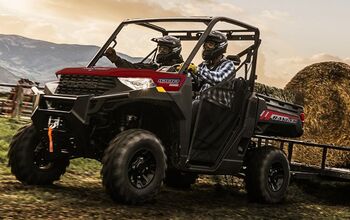
Our 2014 Polaris Ranger Crew had gotten a two-inch lift and bigger tires and axles, but we felt it really needed a little more on the bottom of the power range to keep those wheels turning in the rough, rocky terrain when loaded with cargo or passengers.
In order to obtain a more positive grip on the belt and get the Polaris power in the range we desired, we installed the new spring in the kit as well as the driven sheaves that Dirty Dog Performance sent us. This is a fairly simple process and DDP does send very good instructions with each kit. Just for reference sake, we have listed some tips for those looking to do the same process and most of these will be useful on most all UTV clutch upgrades.
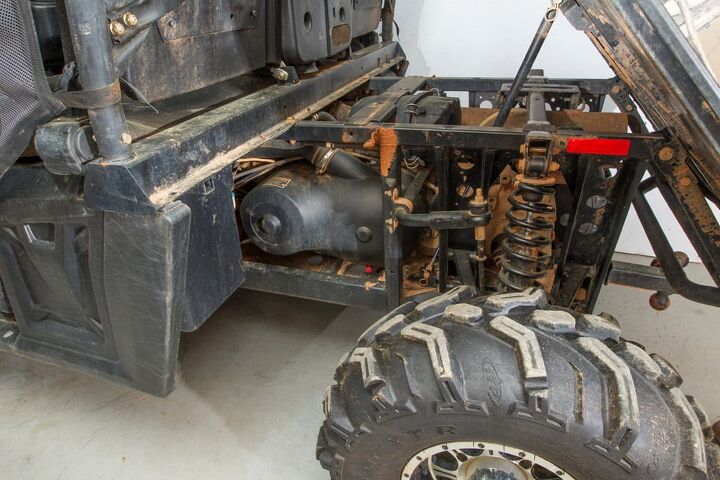
The Ranger Crew is a very large machine, so be sure you have plenty of working area around your rig. Lay out your parts and locate all of the tools you will need for the job. A good cleaning of the machine’s CVT and framework in the area you will be working should keep any dirt, mud or debris from getting into your eyes as you take the CVT apart.
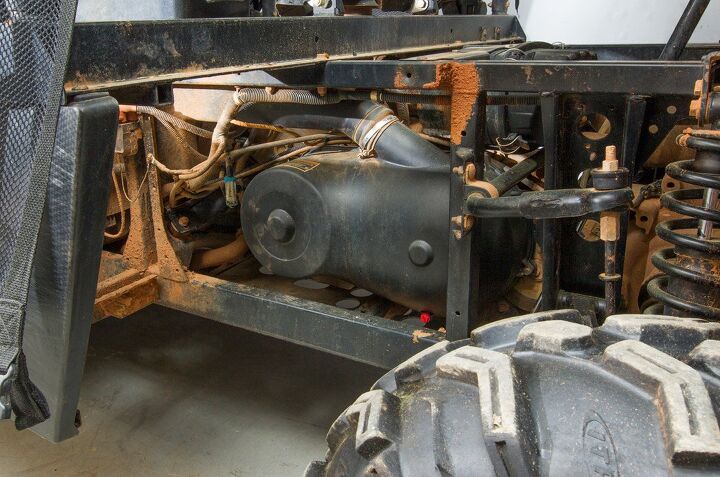
Getting to the CVT housing can sometimes be tricky, but if you take the time to remove small plastic body panels as well as any storage boxes in the way it will make the job much easier. Our Polaris Ranger Crew has a massive storage container under the rear seat on the driver’s side. Removing it gave us plenty of access to the housing cover.
The screws that hold the cover on in this case are screwing into plastic, so be sure to not strip these on reinstallation. Use light pressure when snugging these back down after the upgrade is finished. There is also a rubber seal around the entire perimeter of the housing cover. Take a second to inspect this seal for tears or potential leaks.
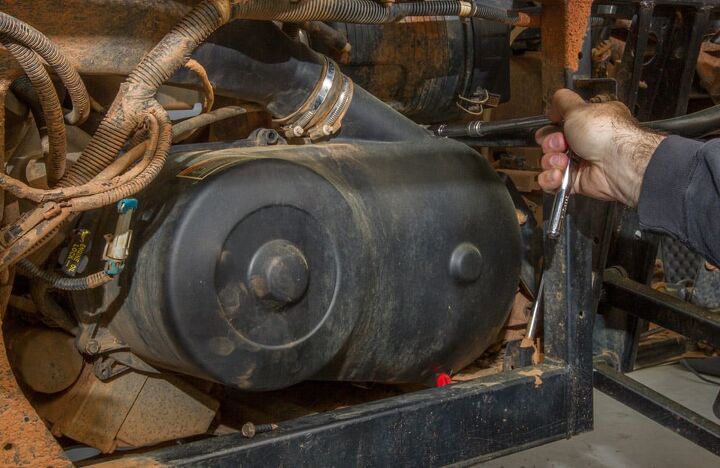
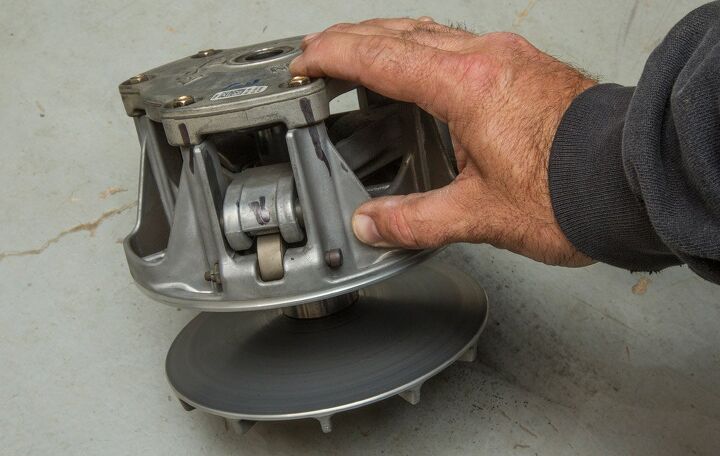
When removing the drive sheave you will need a specialty tool. The sheave system rides on the cone shaped or tapered end of the crankshaft and needs to be coaxed off with a special tool to prevent damage. This tool is inexpensive and can be ordered online through many outlets, such as Dirty Dog Performance. The driven or secondary sheave you are replacing should simply slide off the transmission shaft without the use of any tools.
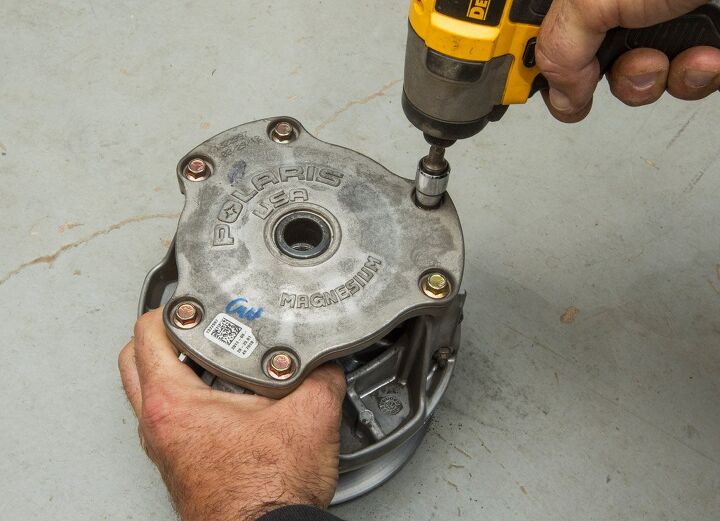
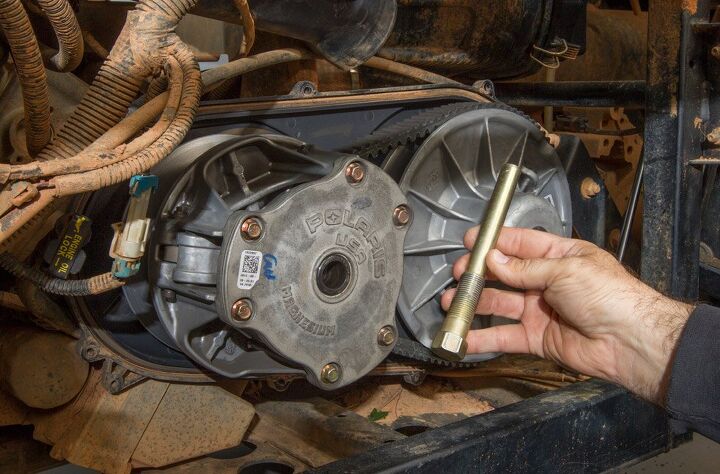
Our drive clutch was to be disassembled so the main spring and clutch weights could be replaced. A clamping tool is included to assist with this, although the process can be done without it by applying firm pressure to the top of the housing and removing the bolts in a crisscross pattern, loosening each one a little at a time to distribute the pressure of the compressed spring inside. Be sure to mark the drive clutch before disassembly with a sharpie or something that will not rub off so it can be reassembled the exact way it was taken apart.
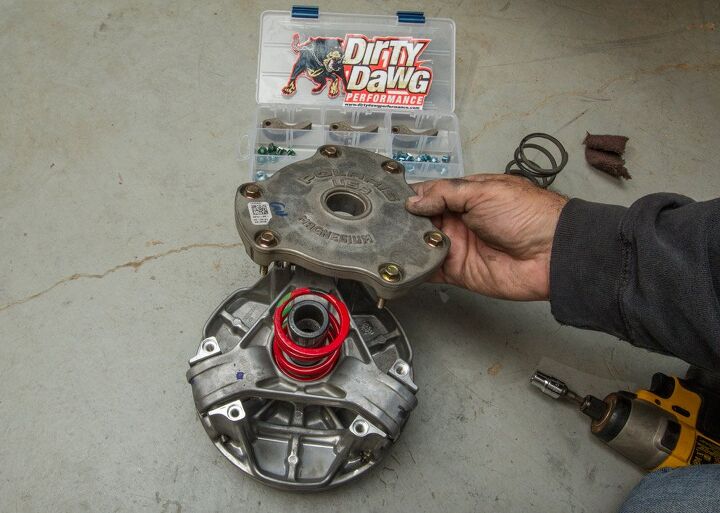
With some upgrade kits, such as this one from Dirty Dog Performance, you have many options to change the working specifications of your clutch. After an informational discussion with the designer of this DDP kit, about how we use the machine, our parts came ready to install with no guesswork. Should you want to experiment, you can change the clutch engagement with the many different combinations of weight in the box.
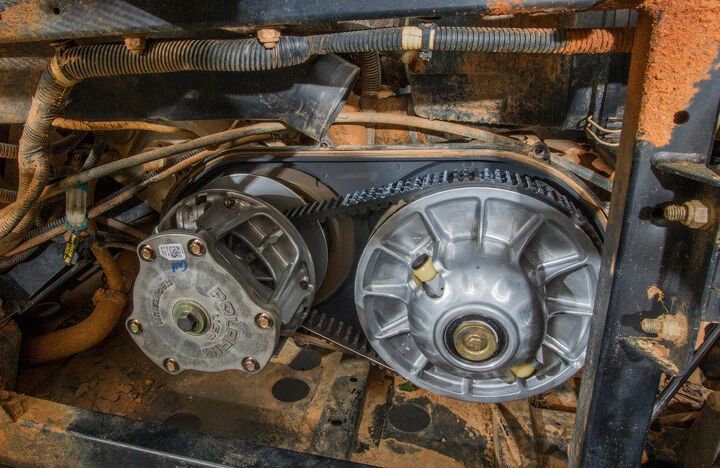
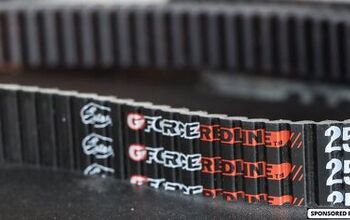
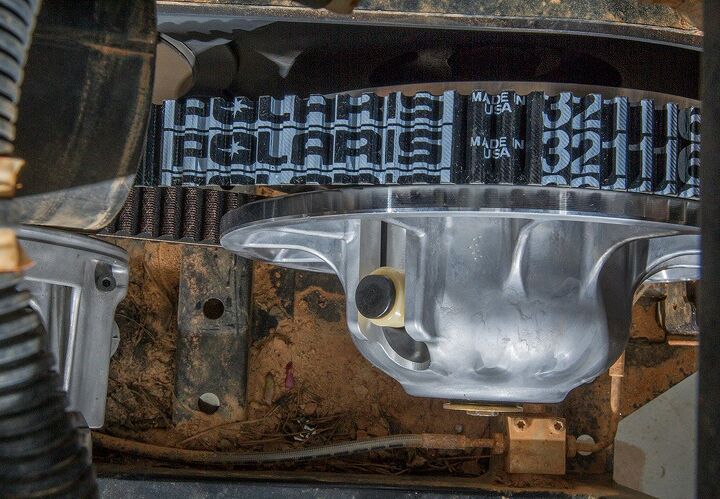
The one thing to watch out for when reinstalling the drive and driven sheaves is the direction of the belt. We choose to install a brand new factory Polaris belt. The belt needed to be installed with the Polaris brand name facing out toward the wheels. Some belts have printed arrows to indicate the forward direction of the transmission when running to help you install the belt correctly.
As we mentioned earlier, be sure you do not strip the screws for the CVT cover out when reinstalling. Do not forget to reattach the upper ventilation boot clamps so you do not get water in the CVT housing. Also, the very first drive should be carefully carried out so the belt has a chance to wear in properly.
Whether he is in Mexico covering the Baja 1000, building ATVs for local racers, or out enjoying the trails, Rick’s passion shows in his stories. Learning to wrench his own machines from his grandfather, Rick also has an undying appreciation for the mechanics of off-road vehicles. Do not let the dirt and mud fool you, though, as Rick also has a deep love for street cars.
More by Rick Sosebee