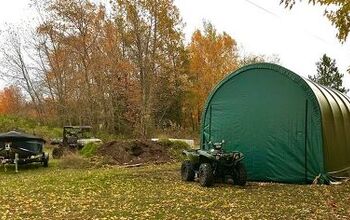
ShelterLogic DIY Garage on a Budget – Part 1
A ShelterLogic structure was on our radar recently when we were looking for an affordable way to protect our ATVs, boat and lawnmower from the elements without breaking the bank. This article shows how we chose the structure and set up its the location for construction.
As ATV enthusiasts, and if you’re at all like me, you struggle having enough space to store your ATV, or ATVs if you have more than one. If you’re lucky enough to have storage space, good for you. For the rest of us, it means that we’re going to need to build something, some space we can keep our stuff in so it is protected and out of the way. Garage and pole building packages look cheap on paper, but remember – those attractive prices always leave something out. Luckily for us, ShelterLogic has some amazing DIY Garage solutions for you that you can build with just a little help from your buddies, and you can do it for far less money than you would think possible.
You may be familiar with ShelterLogic to an extent. You’ve probably seen the shed packages they sell through various retailers that, for a few hundred bucks, will give you an easy-to-build shelter for your stuff. There’s nothing wrong with these sheds and for the money, they are the best option when you don’t have any budget room. I have one and it has held up well so far. Where I live, however, the winters and the wind have not been kind to it. I used the wrong anchors when I first put it up and after our first big storm of the season, my neighbor woke me up to tell me that it was in his tree next door. I got it down, patched it up and used the right anchors.
I have ATVs and a nice, new boat, so I need a structure that is rated to handle wind and snow. Do I spend $15 grand to build a pole barn? Luckily, ShelterLogic has EXACTLY what I need. It offers a custom-built, permanent building that is made to order from quality materials, all for a great price. Best of all, you can get one that is certified to be wind and snow rated with materials that will last.
There is easily a ShelterLogic building for every need and budget. In fact, it offers so many that it can be hard to choose. Thankfully, the company has live chat assistance to help guide you through picking out the best one for your needs. There are tons of prefabricated kits available that will meet general needs. Or, if you don’t see what best suits your specific needs, you can order a premium, custom kit from the ShelterLogic website, which is what I did, but we’ll get to that in a minute. Just know that they can set you up with a DIY Garage pretty easily.
My grandfather gave me advice many years ago about barn and garage space. He said that to do it right, measure out as much of the stuff you want to store inside it and then add a minimum of 25%. He added that 50% was better, but work with what you can. With the space I was planning to use, 50% wasn’t going to be possible, but I was able to add 25% or so to the overall space. I was thinking I needed 20 feet for length, 12 feet for width and maybe 10 feet for height. After chatting with the customer service folks at ShelterLogic, I went with 25 x 14.5 x 13. This will let me store the boat, the ATV, the lawnmower, goose decoys and so much more, all while allowing me extra space to let my wife store stuff in there too. She’s dead-set on getting goats, so I need a place to store some hay for her, however, I’m not about to tell her that she can put anything in there.
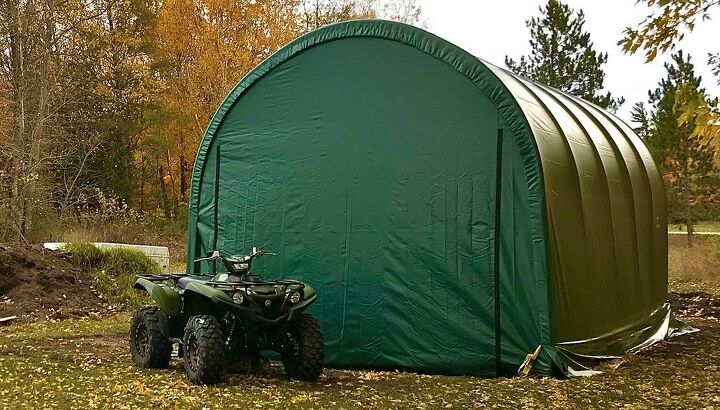
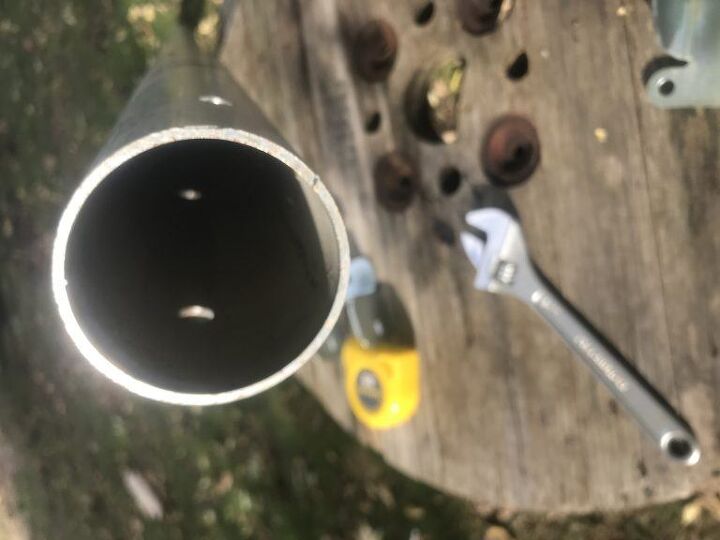
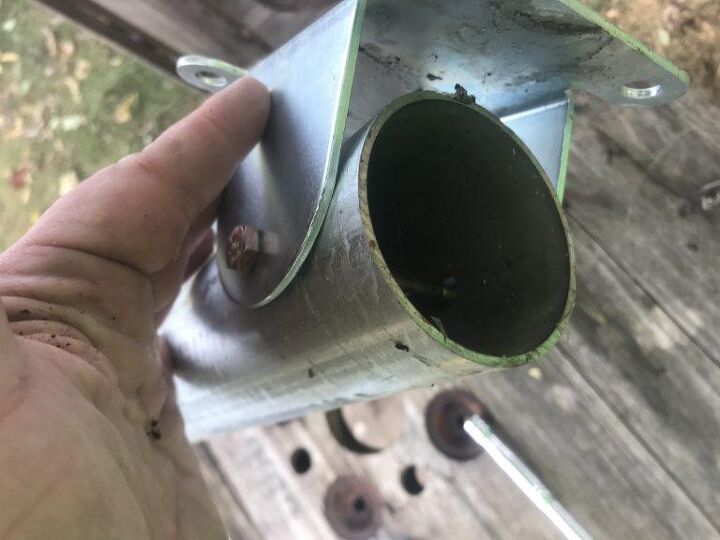
There are many, many DIY Garage options available from ShelterLogic when it comes to type. I went with the premium ShelterTech SP series custom structure that cost me just a hair over $4,600. The reasons are pretty clear in my mind and I think you’ll agree. The main frame is 3-inch, Made in the USA, galvanized steel tubing. This stuff is thick and strong. The cover is made from Ultra Duty PVC 21.5 oz material that is rated for 10 years plus. This structure, when assembled correctly, is rated for 75 pounds per square inch snow load and 115 mph winds. I live in a northern region, so the snow and wind load were vital to my needs. I wanted a permanent structure that would last for many years, so this was the obvious choice.
How can you decide which one is best for you? You need to decide that for yourself. Look at the weather ratings for different products and compare those to your location. Everything from barns to carports and garages is available.
You probably have your building site selected, but if not, there’s a few things you should look for. Look for level ground, as having the building set on level ground is imperative. When I had a decent idea of the building size I wanted to order, I searched my property to make sure it would work, or if I needed to adjust plans.
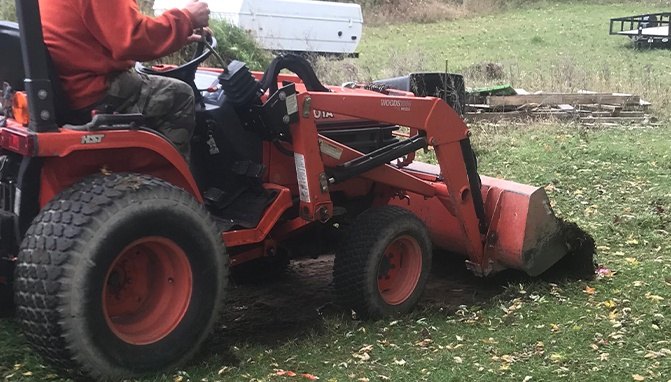
My building site was close to level, but not quite close enough. Luckily for me, my neighbor had a tractor with a back blade and a front scoop, and I had access to a transit to level out the spot. If you don’t have a transit, you can do pretty much the same task with some basic tools. A basic laser level, a good tape measure, four poles and a Sharpie can work. Mark your four corners with the poles and measure off inches on the poles with the Sharpie. Use the laser to cast a line from a set height and note on each pole the difference in inches. Once you get all four matching, you should be at level.
In Part II of our project, we’ll cover assembly of our ShelterLogic DIY Garage building and how you can throw one up for yourself.
We are committed to finding, researching, and recommending the best products. We earn commissions from purchases you make using the retail links in our product reviews. Learn more about how this works.
Derrek's love for all things ATV started when he was a mere 11 years old, growing up on his family farm. His mom gave him and his sister a choice - get a horse, or a three-wheeler. The sister wanted the horse, and Derrek wanted the ATV. Luckily he won out, and was soon burning up the trails on a Yamaha Tri-Moto 200. By the time he was 14, he had saved enough of his own money by working on the farm and in his folks restaurant to buy a new 4-wheeler. That happened the day he and his mom were driving past the dealership and saw 1987 Banshee. His mom had no idea what he was buying, and he never looked back. He's been riding ever since, and been writing professionally for many years. He has ridden all over North America and been behind the controls of just about every machine out there. And yes, he still has his 1987 Yamaha Banshee.
More by Derrek Sigler


![More ATVs on Ice [video]](https://cdn-fastly.atv.com/media/2022/10/24/8742964/more-atvs-on-ice-video.jpg?size=350x220)