HMF Defender HD Bumper Install and Review
We decided to add the HMF Defender HD front bumper to our Polaris General to give it some much-needed front end protection. In this article we go over our installation and review of this eye-catching bumper.
Adding a custom bumper to my Polaris General 1000 has been on my list of things needed for quite some time. This off-road General had been to war and its body armor was beaten into a heap of scrap metal, then laid into the waste pile before I even took ownership. This made finding a suitable replacement for the front bumper, as well as a few other parts, a priority. I wanted a full front bumper made of quality steel and tubing that was thick and looked as if it could take on the world of off road. I also needed something to match the color scheme already laid out on the Deluxe General 1000.
It was clear to me, after sorting through the numerous products on the web, that the HMF Defender HD Deluxe front bumper would be a great choice. This brilliant orange, powder coated nose guard would not only give ample protection against frontal impact, but it has a very accessible winch mounting location for those times when the driver runs out of talent. Not to mention it just looks so damn good on the General. These bumpers are built by an industry leading company in Cleveland Ohio and by one of the most creative minds in the business, Hans Luenger. Hans is well known not only in the world of SXS but also as a leading supplier, crafter of incredible exhaust options for any off-road rig.
Visit HMFRacing.com for information on ordering the Defender HD bumper.
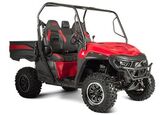
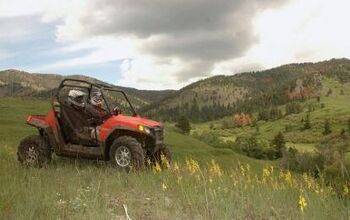
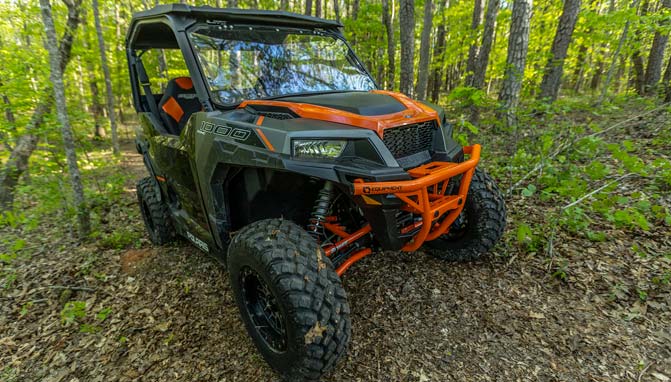
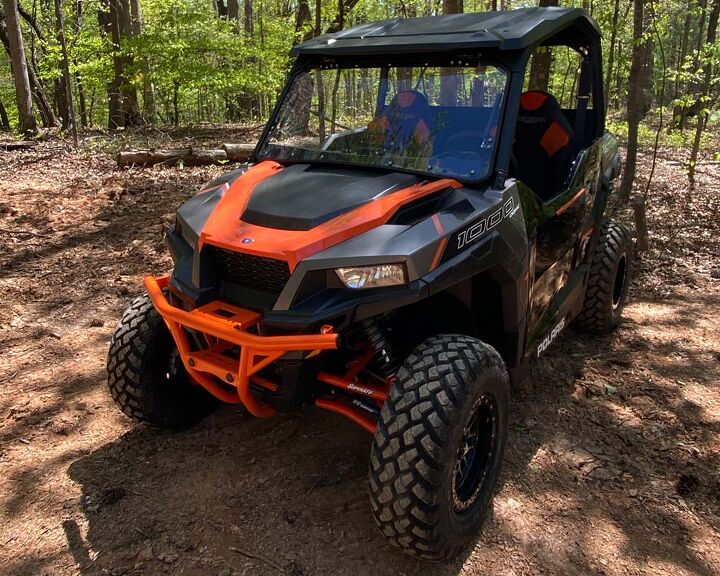
Here’s our General before installing the HMF Defender HD front bumper.
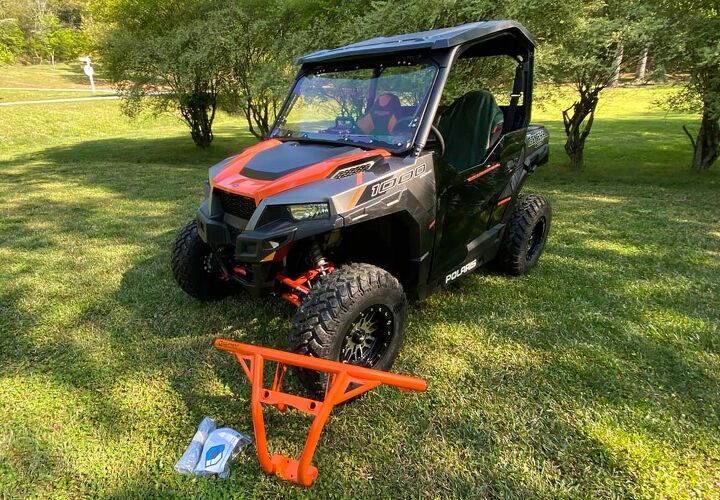
Installing this new steel on my Polaris General 1000 was straight forward, however there are a few things that I noted during my install that might help simplify things even more. After opening the massive box and unloading all the hardware I laid the HMF Defender HD Deluxe front bumper on an old moving blanket. I didn’t want to scratch this beauty before I got it bolted on. First thing to note are the nuts and bolts, quite literally. I tend to lay out the correct size bolts with the correct nuts and all separated just to help my mind flow smoother. This helps you most when you are holding the bumper up with one arm and searching for that matching nut with the other.
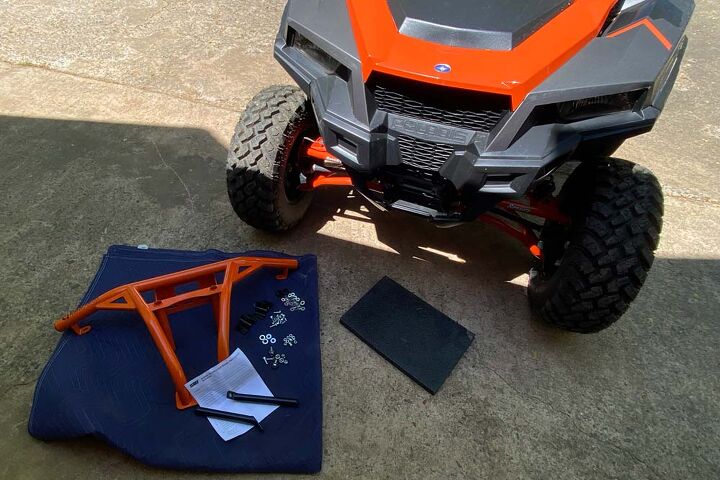
Laying out all the hardware on a blanket like this will make your life easier during installation.
Obviously, I did not have a bumper to remove, but I did need to straighten some thin aluminum braces just so the plastic would sit correctly behind the bumper. Moving on, it was time to look at the section of our factory plastic nose where HMF has instructed us to trim for a secondary brace. It is important to note that the instructions have us mounting the bumper before this step, but it is very difficult to get to the small section with a big, beautiful bumper in the way. We also noted that the directions suggest using a hole saw the size of the braces that are going in that area. The difficulty here is the human element and no real template to center or locate the brace properly in the plastic. It was for this reason that I used my handy Dewalt Multi-tool to simply remove the entire pocket. This gave me plenty of room and it looks much more “factory” in my humble opinion.
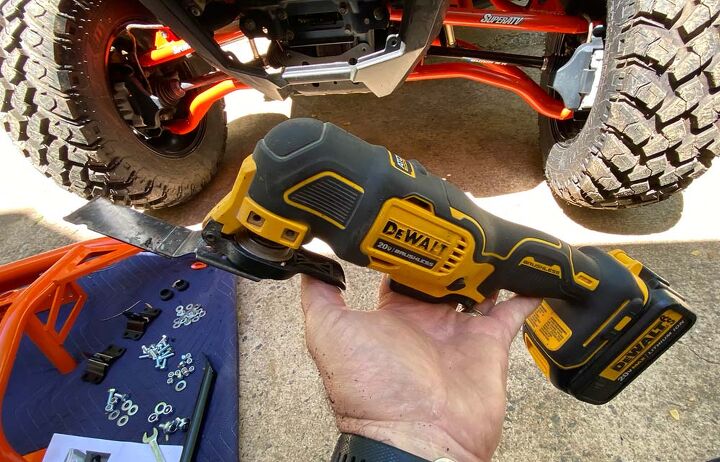
My trusty Dewalt multi-tool came in awfully handy.
So, we are at the point of holding the bumper up against its foundation and installing the first bolt into the lower flange. This is likely the most difficult part of the entire install. The lowest bolt slips into the frame plate, right below the forward section of the front differential. The space between these two components is very tight. Guiding the bolt in does not bother me but for goodness’ sake, getting the dang nylox nut on the bolt is a murder-worthy process. My trick here is to wrap a double layer of electrical tape around the nut (to keep it from slipping out of the wrenches grasp) and canter the nut just a bit sideways. This will allow you to slip the wrench and nut into place and then quickly snug the bolt into the nut without moving the wrench at all. Leave all the bolts loose until every bolt is in place. Doing this keeps everything flexible. Be sure to leave the wrench in place and move on to the next process.
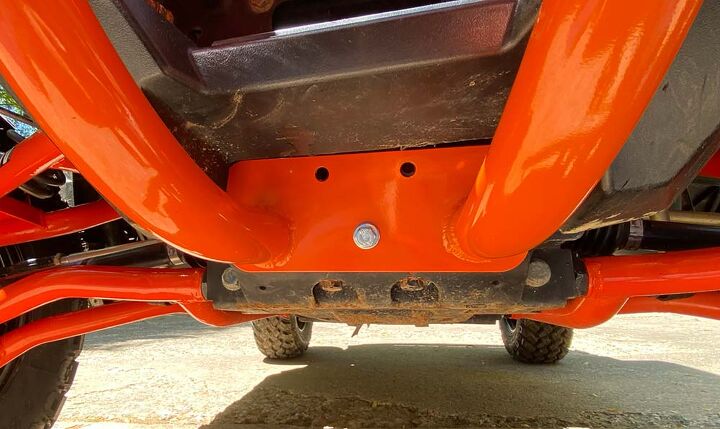
Getting this first bolt in place was easily the most difficult part of the install.
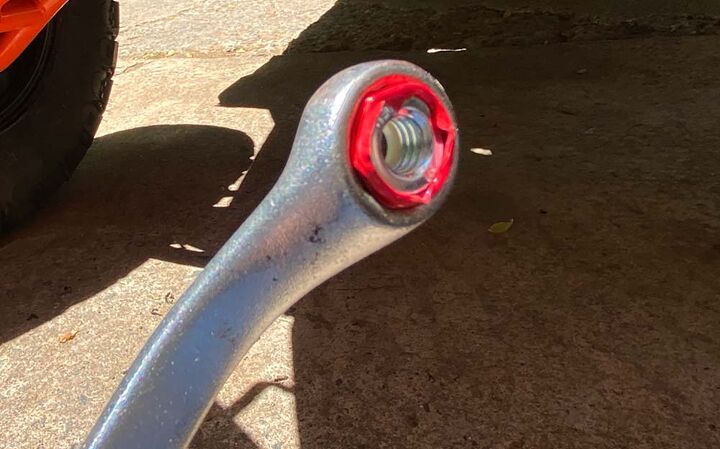
Wrapping the nut with electrical tape ensured it wouldn’t fall out of our wrench when trying to lock the first bolt in place.
Once the three lower bolts are in, the instructions tell you to install the two large main center bolts and you will need a long extension or maybe two depending on the tools you have. I also found that a small crescent wrench or “Thumb Wrench” for those who know, works best in this tight section. The nylox nuts are not extremely difficult to get onto these bolts and once snug don’t forget the plastic tube plugs. These keep dirt and mud out of the channel.
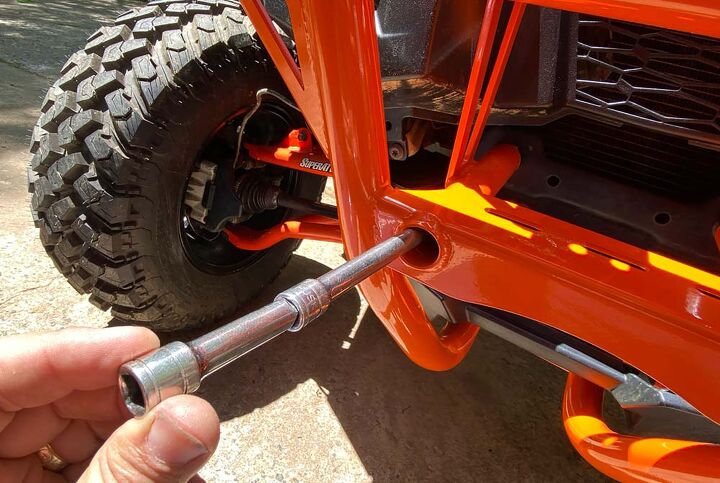
We needed to use an extension to get the long center bolts in place.
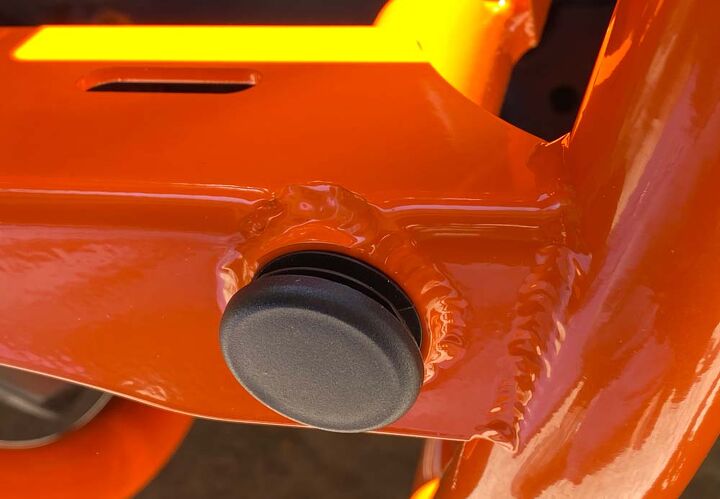
Once the center bolts are in place, it’s time to install the plugs so no water or debris gets inside the bumper.
It is time to move to the bracing, which attaches to the frame rails running down behind the nose of the General. The tube clamps will be oriented with the “tab” facing downish. I was able to thread the brace through the new hole in the plastic from inside the fender area. I then installed a bolt in the bumper bracket to hold the brace in place while I figured out what position worked best for all parts to line up correctly. I do wish the directions were a little clearer (more wide shot photos) on this specific step, but after test fitting everything it really wasn’t that difficult.

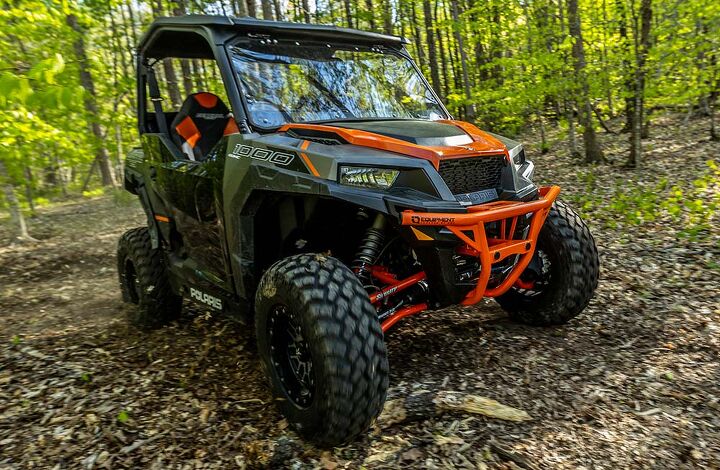
Bracing the bumper with reinforcement brackets is the final step of installation. Time to get out and and go for a drive!
The HMF Defender HD Deluxe front bumper in all its glory was finally installed and all bolts received a final twist to make sure they were good and tight. I did remember to get my 13mm wrench off the problem bolt at the bottom of the bumper as well!
Testing our install, myself and a neighbor took the Polaris General out into a section of property that used to be mostly woods. Some trees still stand and fortunately for my machine I didn’t hit any as we stretched out the parallel twins’ legs. There might have been a couple of small saplings sacrificed in the photography of this project, but the bumper held on like a hair in a biscuit without even a scratch.
What’s next? Well, as mentioned, this HMF Defender HD bumper comes with a winch mount up on top and I’m sure hoping that I can fill that spot soon. As for the rest of this Polaris General 1000 I want to add nerfs as well as maybe a blue tooth capable system to the interior. This poor rig was not only crashed when I bought it, but it was missing many of its great accessories. Stay Tuned.
The HMF Defender HD front bumper looks fantastic installed on the General and gives us some much-needed front end protection.
Visit HMFRacing.com for more information.
Become an ATV.com insider. Get the latest news first by subscribing to our newsletter here.
Whether he is in Mexico covering the Baja 1000, building ATVs for local racers, or out enjoying the trails, Rick’s passion shows in his stories. Learning to wrench his own machines from his grandfather, Rick also has an undying appreciation for the mechanics of off-road vehicles. Do not let the dirt and mud fool you, though, as Rick also has a deep love for street cars.
More by Rick Sosebee