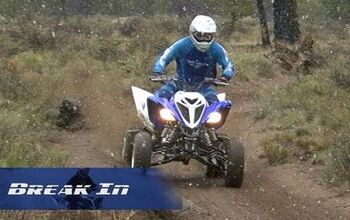
How to Break In Your ATV Belt
Easy does it
There are plenty of parts in an off-road rig we tend not to think about until they fail. No, we’re not talking about heated seats—though we do know a few riders who are spoiled enough to complain if that feature ceased to operate. We’re talking about belts.
Most machines deploy a rubber belt as part of their powertrain, and in these rigs, a busted belt is a surefire recipe for a fistful of no-go and a stretch of irritating downtime. We’ve already covered the common causes of ATV belt failure – and how you break in your belt is a key step in preventing many of them.
Failing to properly break in a new belt can significantly shorten its life, so spending a few minutes on that task after installation can save you a world of headache later on. We’ve partnered with Gates to get their tips on how to break in a new belt, so you don’t break it.
Take Your Time
The fastest way to wreck a new belt is to simply install the thing and take off at wide open throttle. Brand-new belts need a moment, or three, to acclimate to their new duty and settle into the groove (pun very much intended). This is one instance in which a dose of patience can go a long way.
Find the Correct Belt for Your Machine
It may sound simplistic to remind you that you need to make sure to choose the right belt. But even one that’s just slightly out of OE spec can cause wildly unpredictable performance and odd behavior. That’s why Gates deploys a proprietary laser measuring system when producing replacement belts, assuring proper fit.
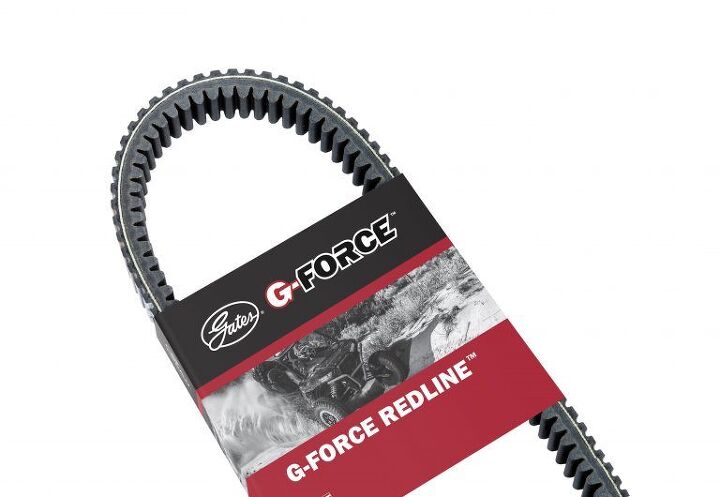
Handle With Care
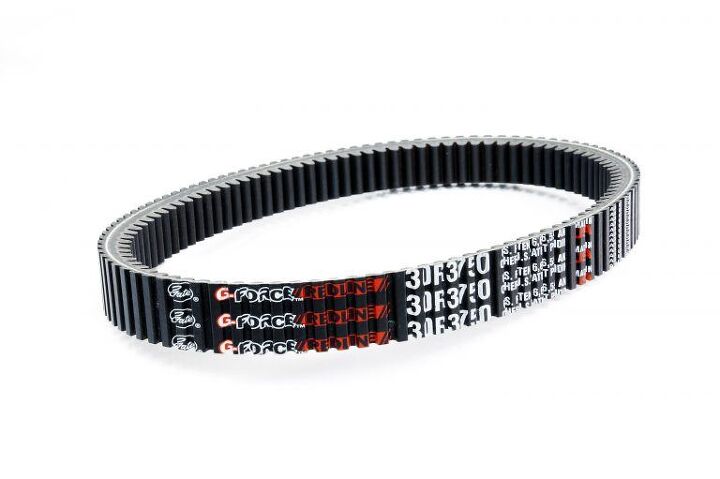
CVT belts, like Gates’s new G-Force RedLine series, are extremely durable—when handled correctly. Bending, crimping or twisting your new belt creates damage to the tensile cords, creating invisible crimps that can lead to belt breakage. We’re not saying you need to handle your belt with kid gloves, but use common sense and don’t invert or backbend it before installing.
Clean Your Clutches
So you’ve purchased the right belt, and you haven’t been using it as a dog toy. Good work. Now you’ll need to make sure to clean your clutches to remove any dirt, debris, oils or leftover residue from your old belt, since these contaminates can lead to belt slippage and a noticeable drop in performance.
Image by stockphoto mania/Shutterstock.com
The easiest way to do this is by using compressed air to blow out dust and dirt, then by wiping the clutch sheaves clean using alcohol or acetone on a rag or mild abrasive, such as a general purpose hand pad. Just remember: don’t spray anything directly onto the clutches, or use a cleaner that’s intended for something other than clutches, like brake cleaner.
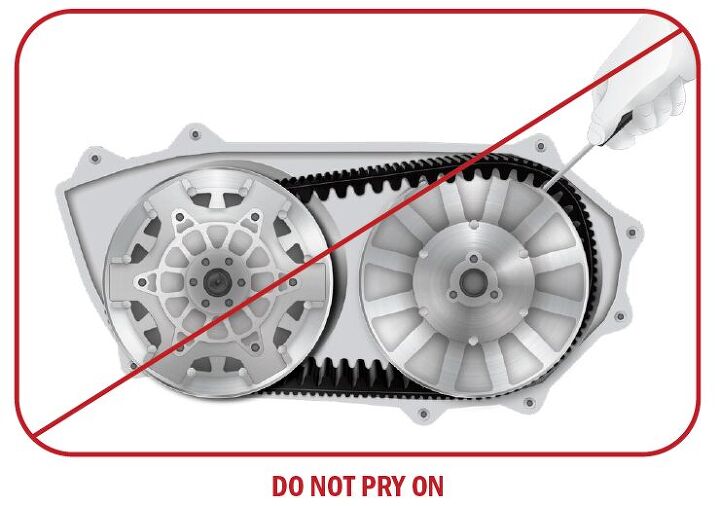
Install It (Properly)
Remember that list of common belt failures? Improper installation was at the root of a number of easily preventable issues. So be sure to follow any and all instructions – for instance, if you’re installing a G-Force RedLine belt, that means putting it on right side up (so the lettering is facing you). But above all, take your time, and take it to a pro if you don’t know what you’re doing.
Perform a Heat Cycle
Once the new belt is on your machine, it is critically important to put it through a couple of heat cycles in order to properly break it in. During your first drive after belt replacement, take the belt up to operating temperature by running the rig in Two High for about 15 or 20 minutes. Be sure not to exceed three-quarter throttle at this point and vary your speed between 20 and 45mph. (Yeah, we know – that’s a tough ask for us, too.)
If the air temperature is especially frigid, as it often is during winter, plan to add 5-10 minutes to your drive, since cold temperatures and new rubber play together about as well as Mayweather and Pacquiao. After this, park the machine and let it cool down with the motor off for about half an hour. (Pro tip: use this time to clean up the mess you just made in the garage while installing your new belt.)
Then Do It All Over Again
Be sure to run your ATV through another driving sequence like the one described above, making for a pair of break-in trips lasting about 20 minutes each. This double dose of caution will ensure a thorough break-in and helped extend your new belt’s life right off the bat. Then let the vehicle rest for another half hour after this second cycle before giving it the beans on an open trail.
Image by stockphoto mania/Shutterstock.com
Why are we doing this break-in work? Blame physics. Rubber belts need to precisely match the pulley sheave angle in order to maintain a proper grip. Otherwise, you’ll end up with a belt that slips more than a Californian during their first encounter with ice. A belt that’s improperly broken in may not seat properly in the sheave, leaving small voids of space between it and the pulley. This can cause slippage and that aforementioned premature failure.
Gates G-Force RedLine belts have been proven to last up to three times as long as belts from competing brands when properly installed and broken in—meaning that sticking to the above steps can save you time, hassle and money down the road.
To learn more about Gates G-Force RedLine series, click here, then visit Navigates.Gates.com to find the right Gates belt for your vehicle.
More by Sponsored Post


![Don't Try This at Home: Jet Ski Pulled by ATV [video]](https://cdn-fastly.atv.com/media/2022/10/24/8744130/don-t-try-this-at-home-jet-ski-pulled-by-atv-video.jpg?size=350x220)